Cloudflare Setup
Chapters: Domains on Cloudflare · Pointing name servers · Creating a Droplet · Installing BFFless · Origin certs · DNS A records · Onboarding
Cloudflare is the recommended approach for self-hosted deployments. It provides:
- SSL certificates with up to 15 years validity (no renewal needed)
- DDoS protection and CDN caching
- Easy DNS management
- No need for certbot or port 80 access
Both Cloudflare and Let's Encrypt provide free SSL certificates. Your only cost is server hosting, which typically runs $5-10/month depending on your provider.
Overview
With Cloudflare, traffic flows like this:
Cloudflare provides two layers of encryption:
- Universal SSL - Free certificate between users and Cloudflare (automatic)
- Origin Certificate - Certificate between Cloudflare and your server (you set this up)
Step 1: Set Up Your Server
Before configuring Cloudflare, you need a Linux server to host BFFless.
Minimum Requirements
| Resource | Minimum | Recommended |
|---|---|---|
| RAM | 1 GB | 2 GB+ |
| CPU | 1 vCPU | 2 vCPU+ |
| Disk | 25 GB SSD | 50 GB+ SSD |
| OS | Ubuntu 22.04+ | Ubuntu 24.04 LTS |
On servers with 2 GB+ of RAM, you can enable MinIO (S3-compatible object storage) and Redis (caching) for enhanced performance. Add these to your .env file:
ENABLE_MINIO=true
ENABLE_REDIS=true
By default, BFFless uses local filesystem storage and in-memory caching, which works well for most deployments.
BFFless requires at least 1 GB of RAM to run. Servers with 512 MB RAM will experience out-of-memory errors and crashes.
Recommended Providers
Any cloud provider works. Here are some budget-friendly options:
| Provider | Minimum Plan | Price |
|---|---|---|
| Hetzner | CX22 (2 GB / 2 CPU) | ~$4/mo |
| DigitalOcean | Basic Droplet (1 GB / 1 CPU) | $6/mo |
| Linode | Nanode (1 GB / 1 CPU) | $5/mo |
| Vultr | Cloud Compute (1 GB / 1 CPU) | $6/mo |
Server Setup
- Create a server with Ubuntu 22.04+ (or your preferred Linux distro)
- Ensure port 443 is open in your firewall
Step 2: Run the Installer
Now SSH into your server and start the BFFless installer.
2.1 Connect to Your Server
From your local machine, SSH into your server and note your public IP address:
ssh root@YOUR_SERVER_IP
curl -4 ifconfig.me && echo
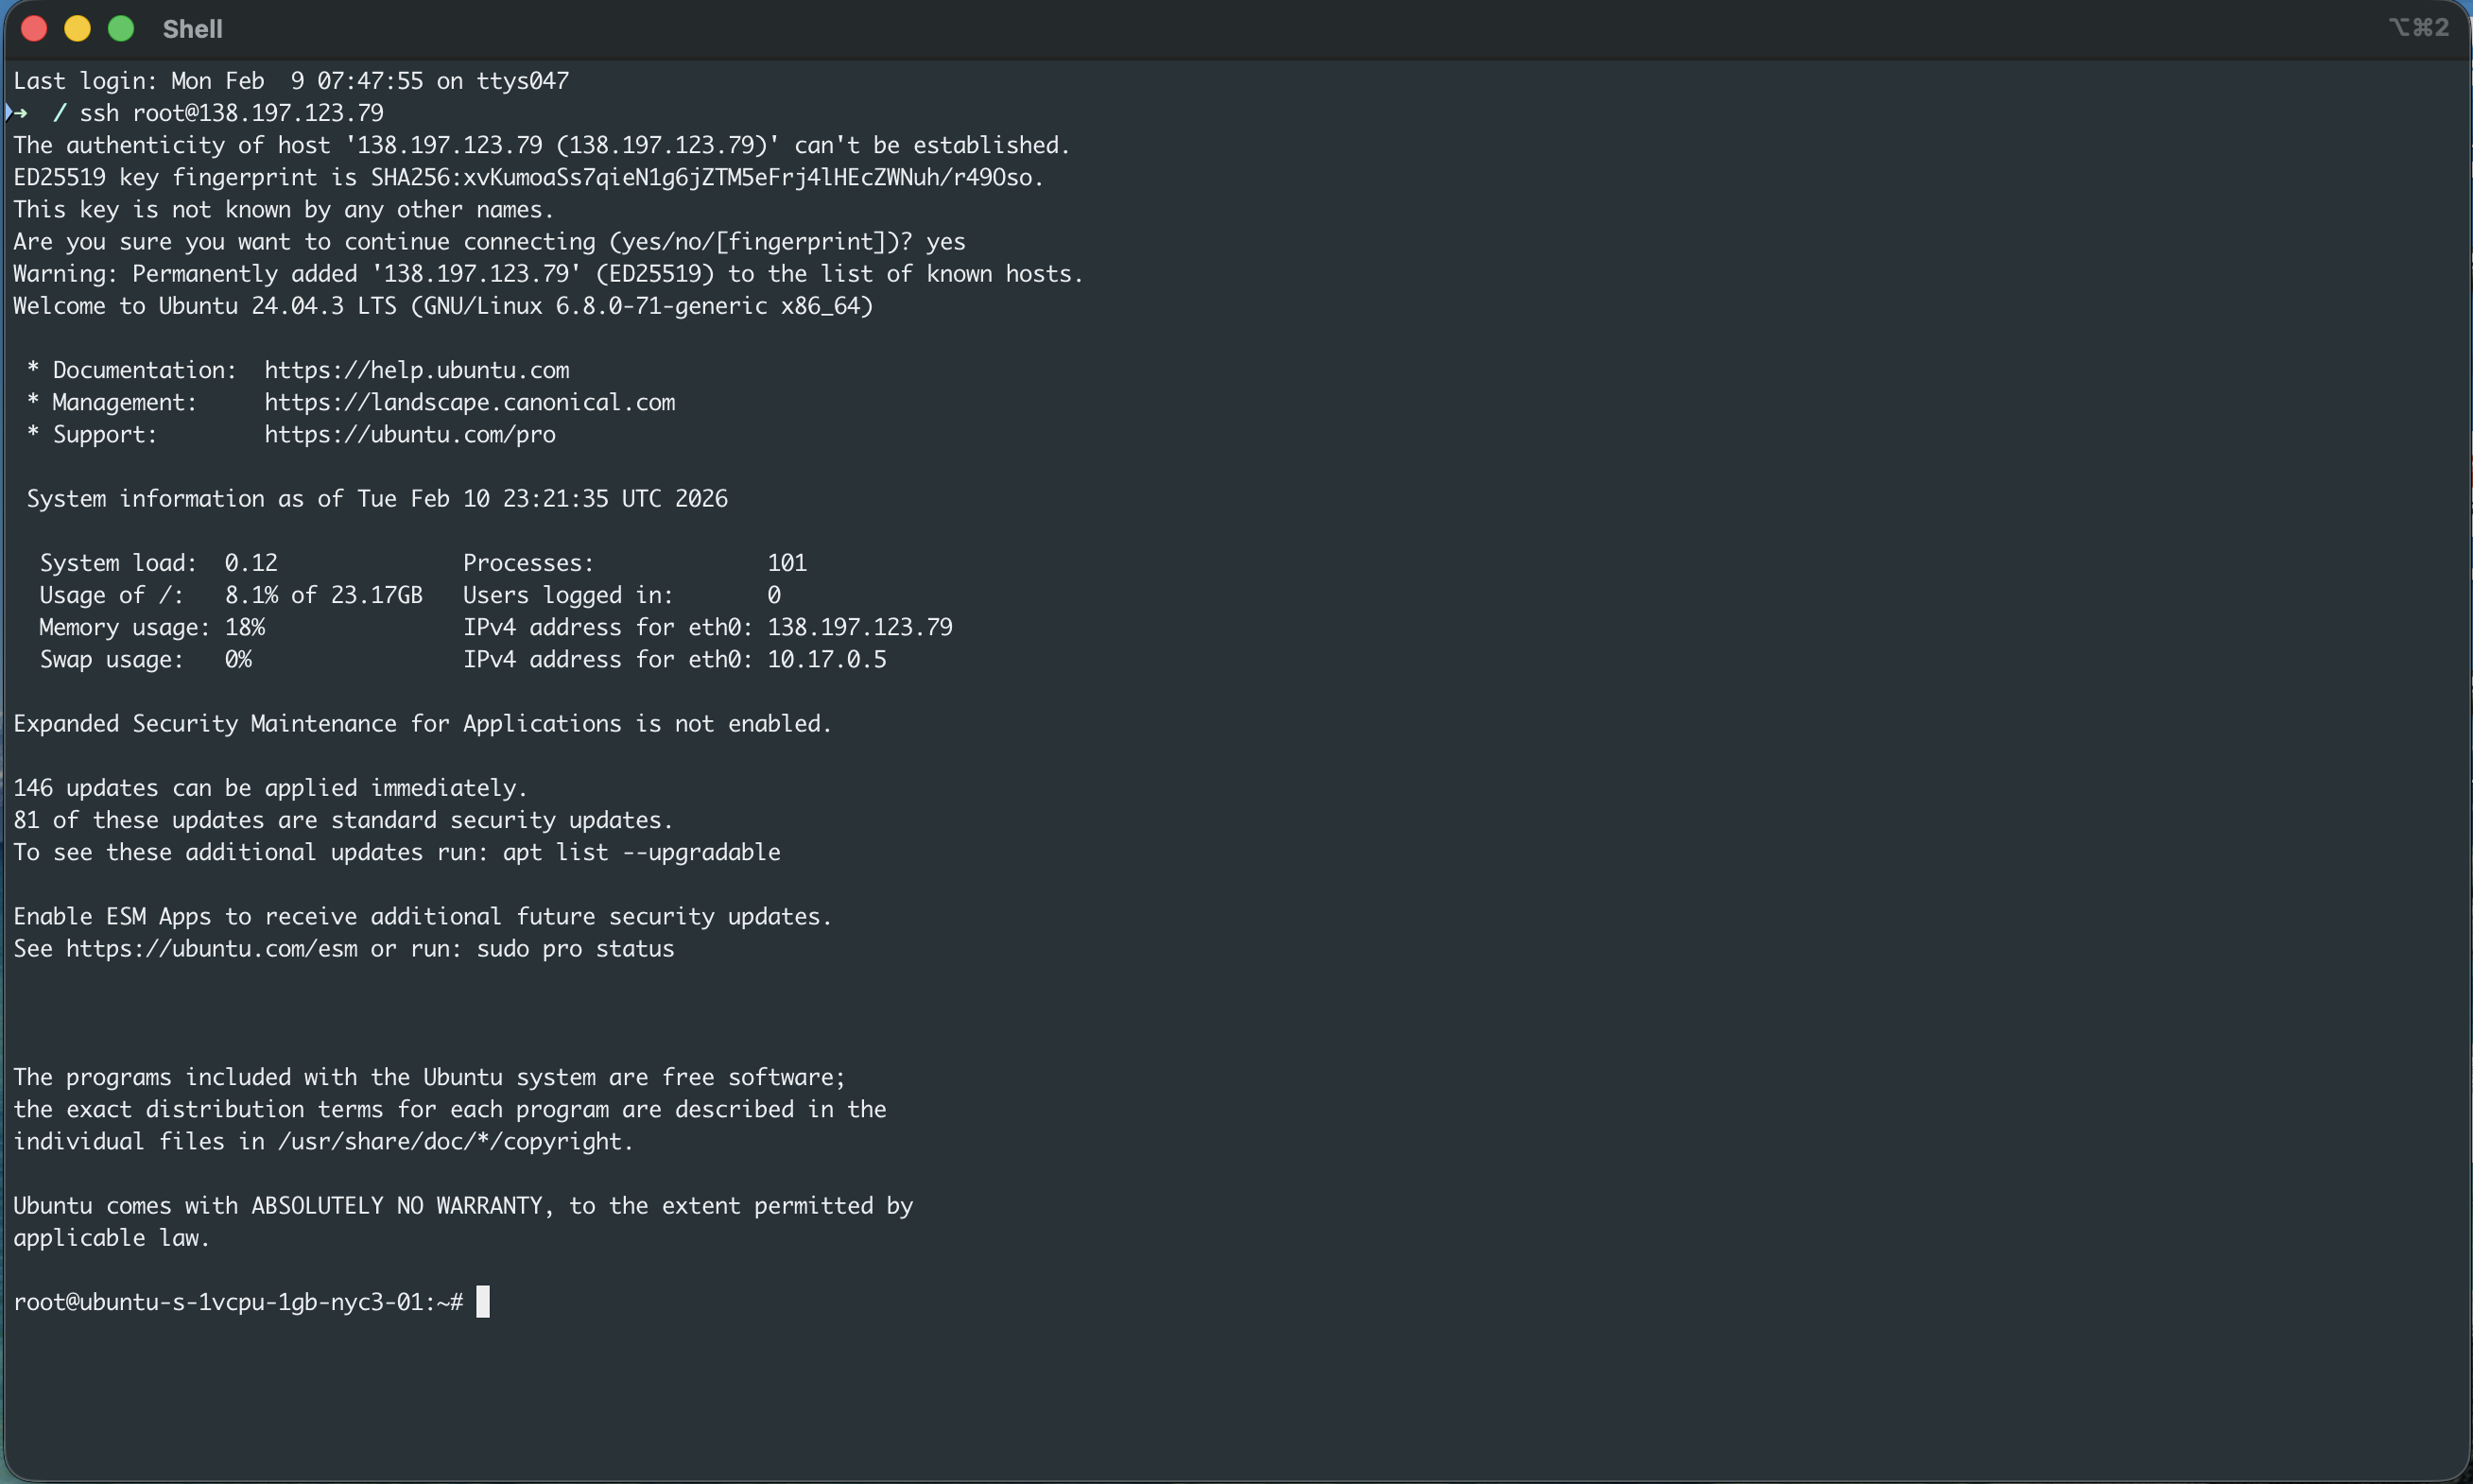
You'll need this IP address for DNS configuration in the next steps.
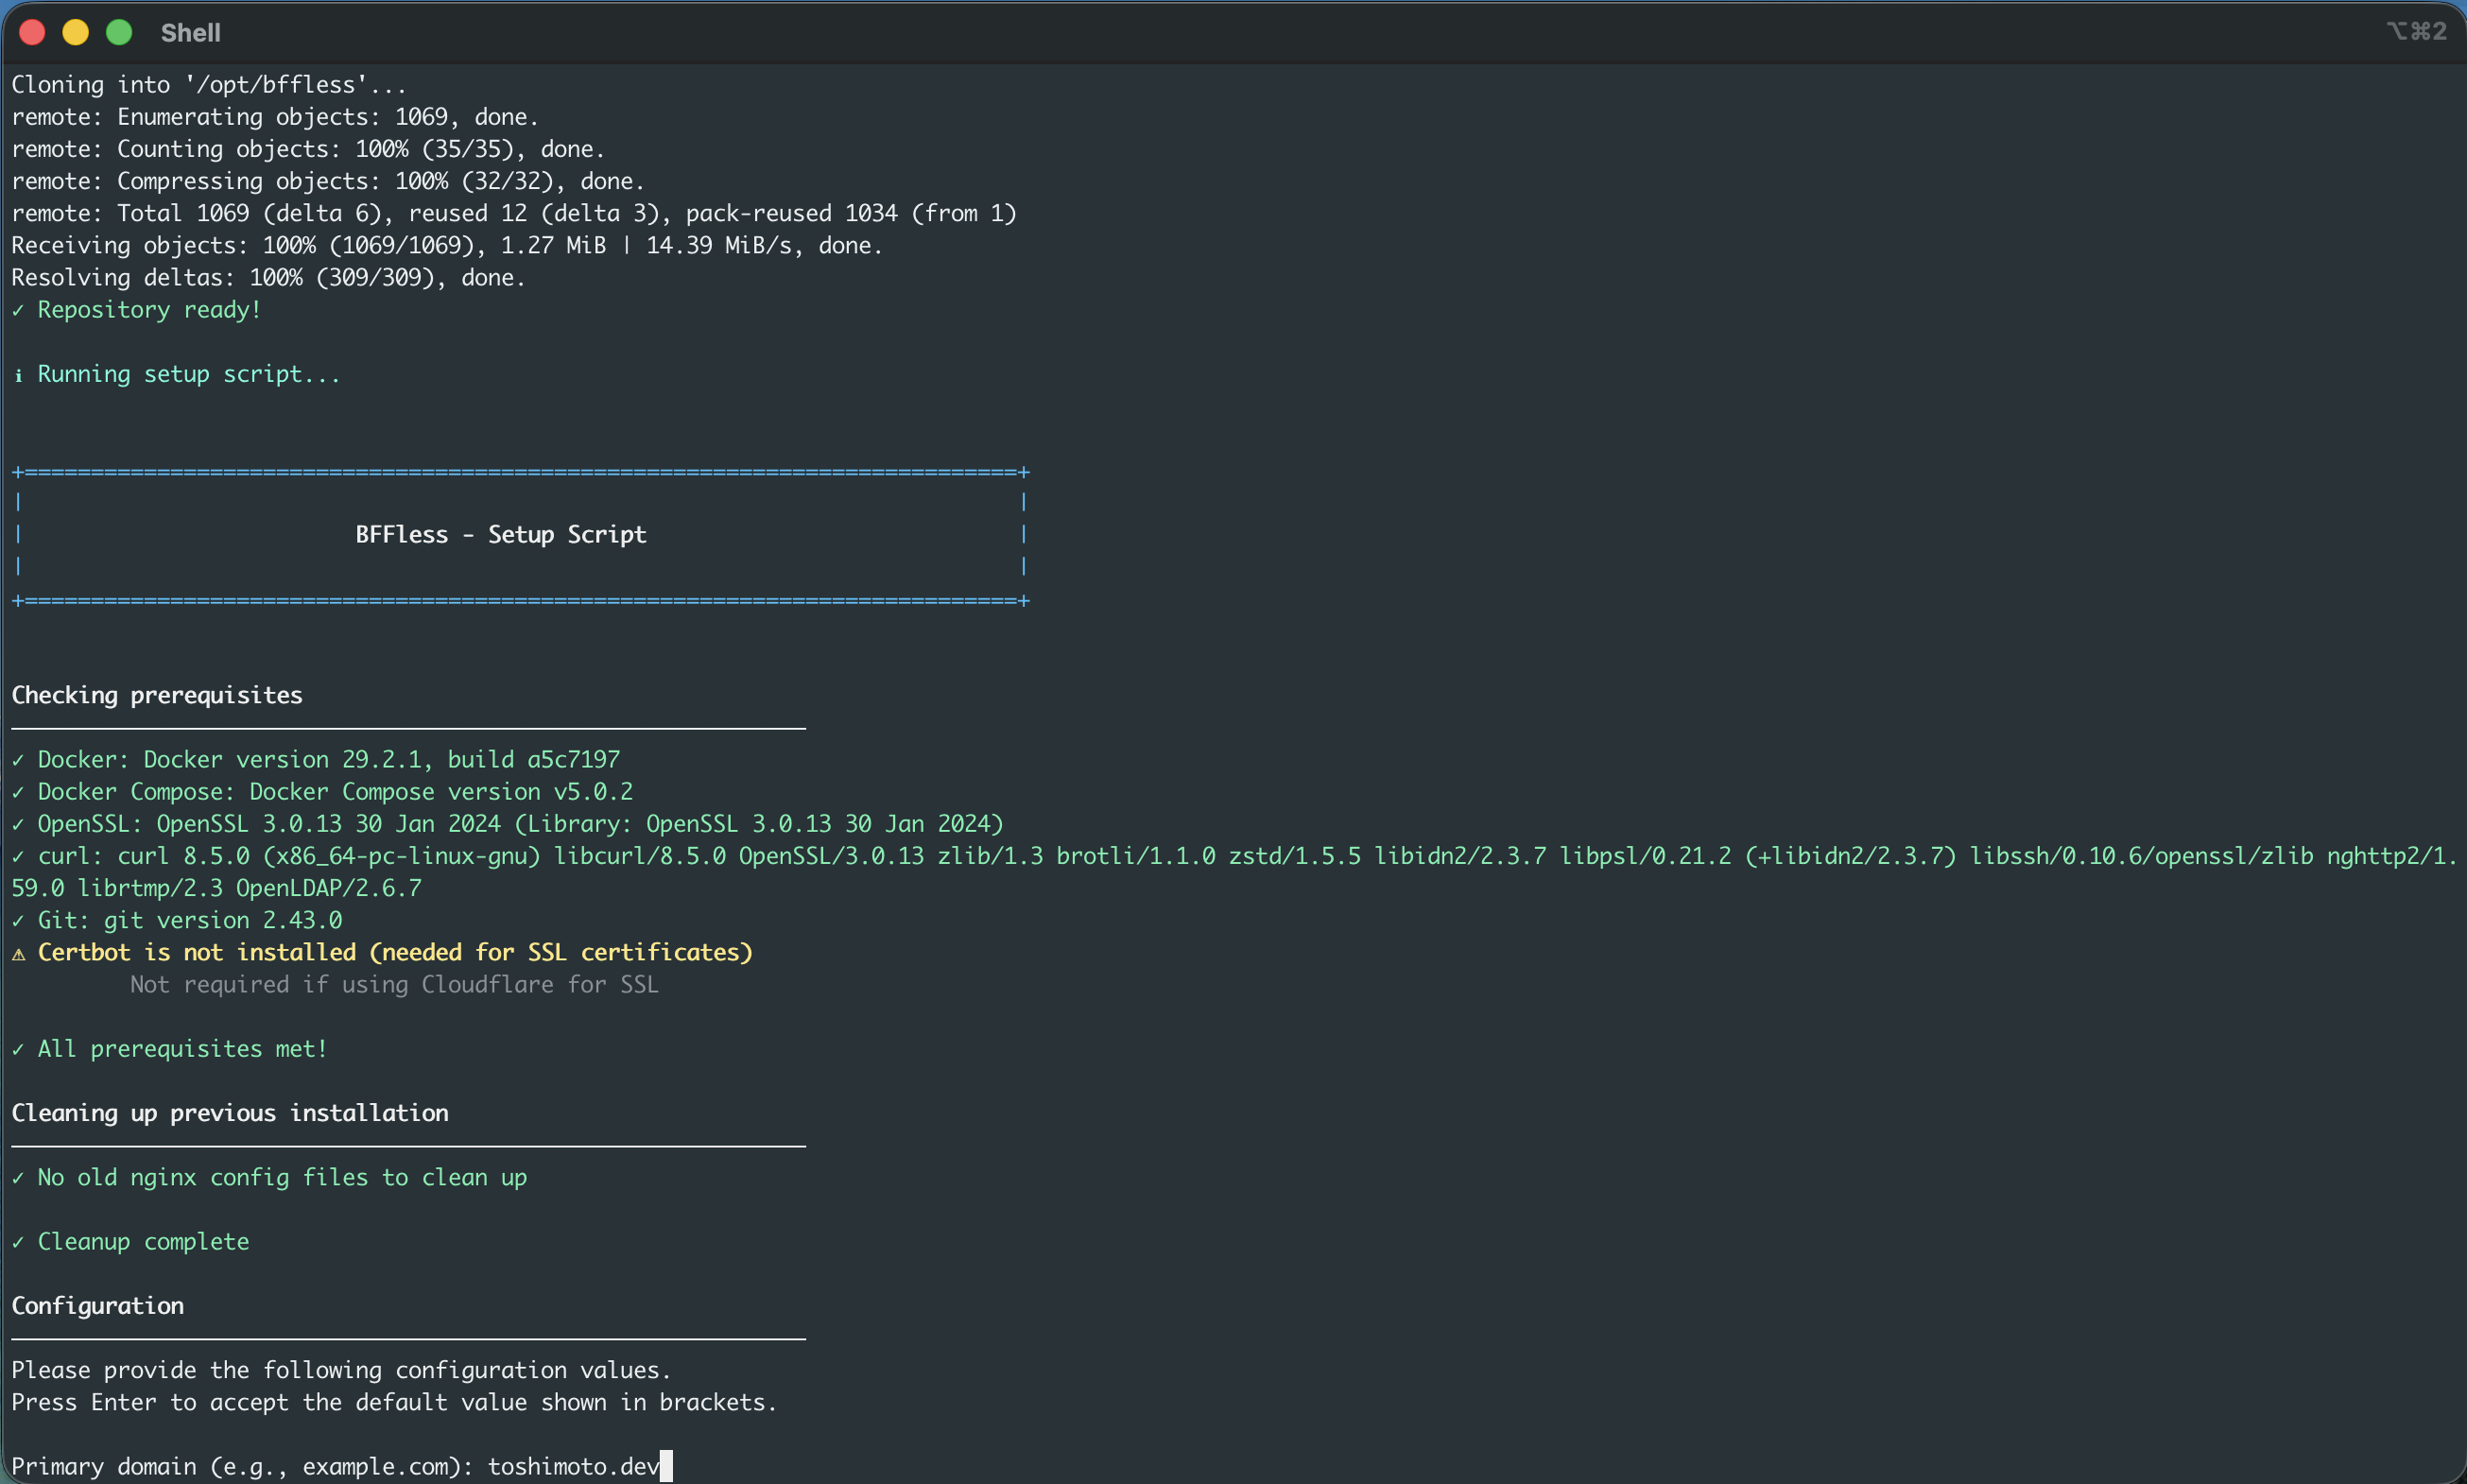
2.2 Run the Install Script
Run the BFFless installer:
INSTALL_DIR=/opt/bffless sh -c "$(curl -fsSL https://raw.githubusercontent.com/bffless/ce/main/install.sh)"
The installer will automatically install Docker if needed and set up the BFFless platform.
2.3 Enter Your Domain
When prompted, enter your domain name (e.g., example.com):
2.4 Select Cloudflare
When asked about SSL certificate method, select 1 for Cloudflare (or just press Enter for the default):

2.5 Confirm Your Server IP
The installer will detect your server's public IP address. Press Enter to confirm or enter a different IP.
2.6 Accept Default Passwords
Press Enter to accept the auto-generated defaults for:
- PostgreSQL password - auto-generated secure password
- MinIO root user - defaults to
minioadmin - MinIO root password - auto-generated secure password
- Redis password - auto-generated secure password
For Email Configuration, enter N to skip. You can configure email later in Admin Settings.
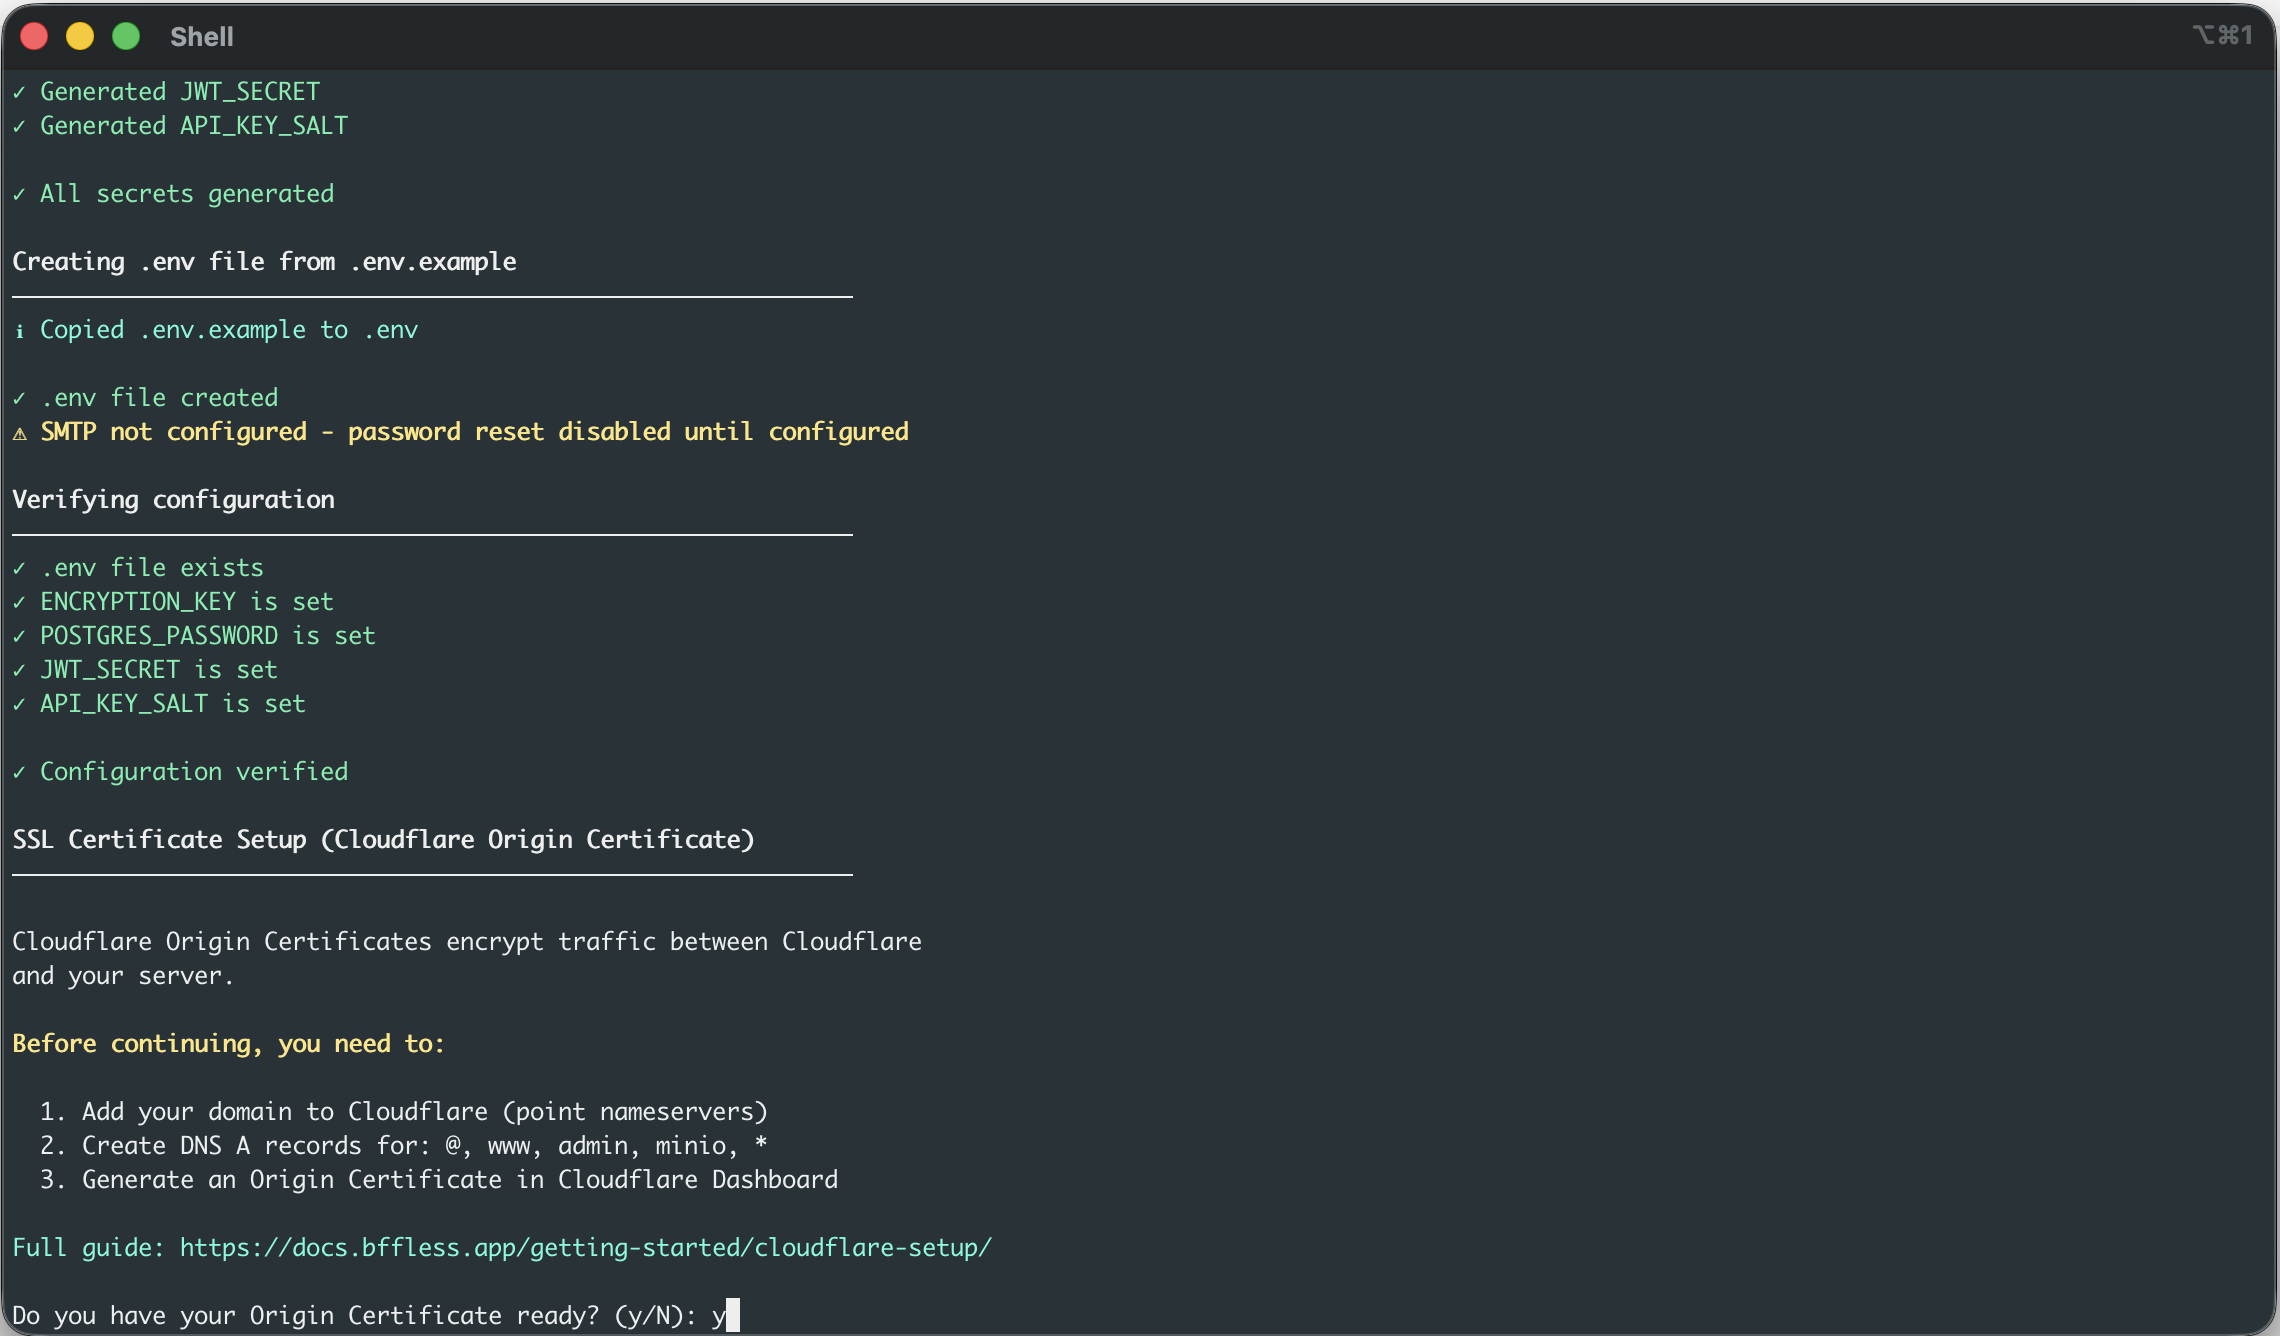
2.7 Origin Certificate Prompt
When prompted "Do you have your Origin Certificate ready?", enter y.
The installer will wait for you to paste your certificate. Leave the terminal open and continue to the next steps to configure Cloudflare and generate your Origin Certificate. You'll return to this terminal after Step 5 to paste the certificates.
Step 3: Add Your Domain to Cloudflare
If your domain isn't already on Cloudflare:
- Create a free account at cloudflare.com
- Click Add a Site and enter your domain
- Select the Free plan
- Cloudflare will scan your existing DNS records
- Update your domain's nameservers at your registrar to point to Cloudflare:
- Cloudflare will show you two nameservers (e.g.,
anna.ns.cloudflare.com,bob.ns.cloudflare.com) - Log into your domain registrar (GoDaddy, Namecheap, Google Domains, etc.)
- Find the nameserver settings and replace them with Cloudflare's nameservers
- Wait for propagation (can take up to 24 hours, usually faster)
- Cloudflare will show you two nameservers (e.g.,
dig NS yourdomain.com +short
You should see Cloudflare nameservers in the output.
Step 4: Create DNS Records
In the Cloudflare Dashboard, go to DNS > Records and add these A records:
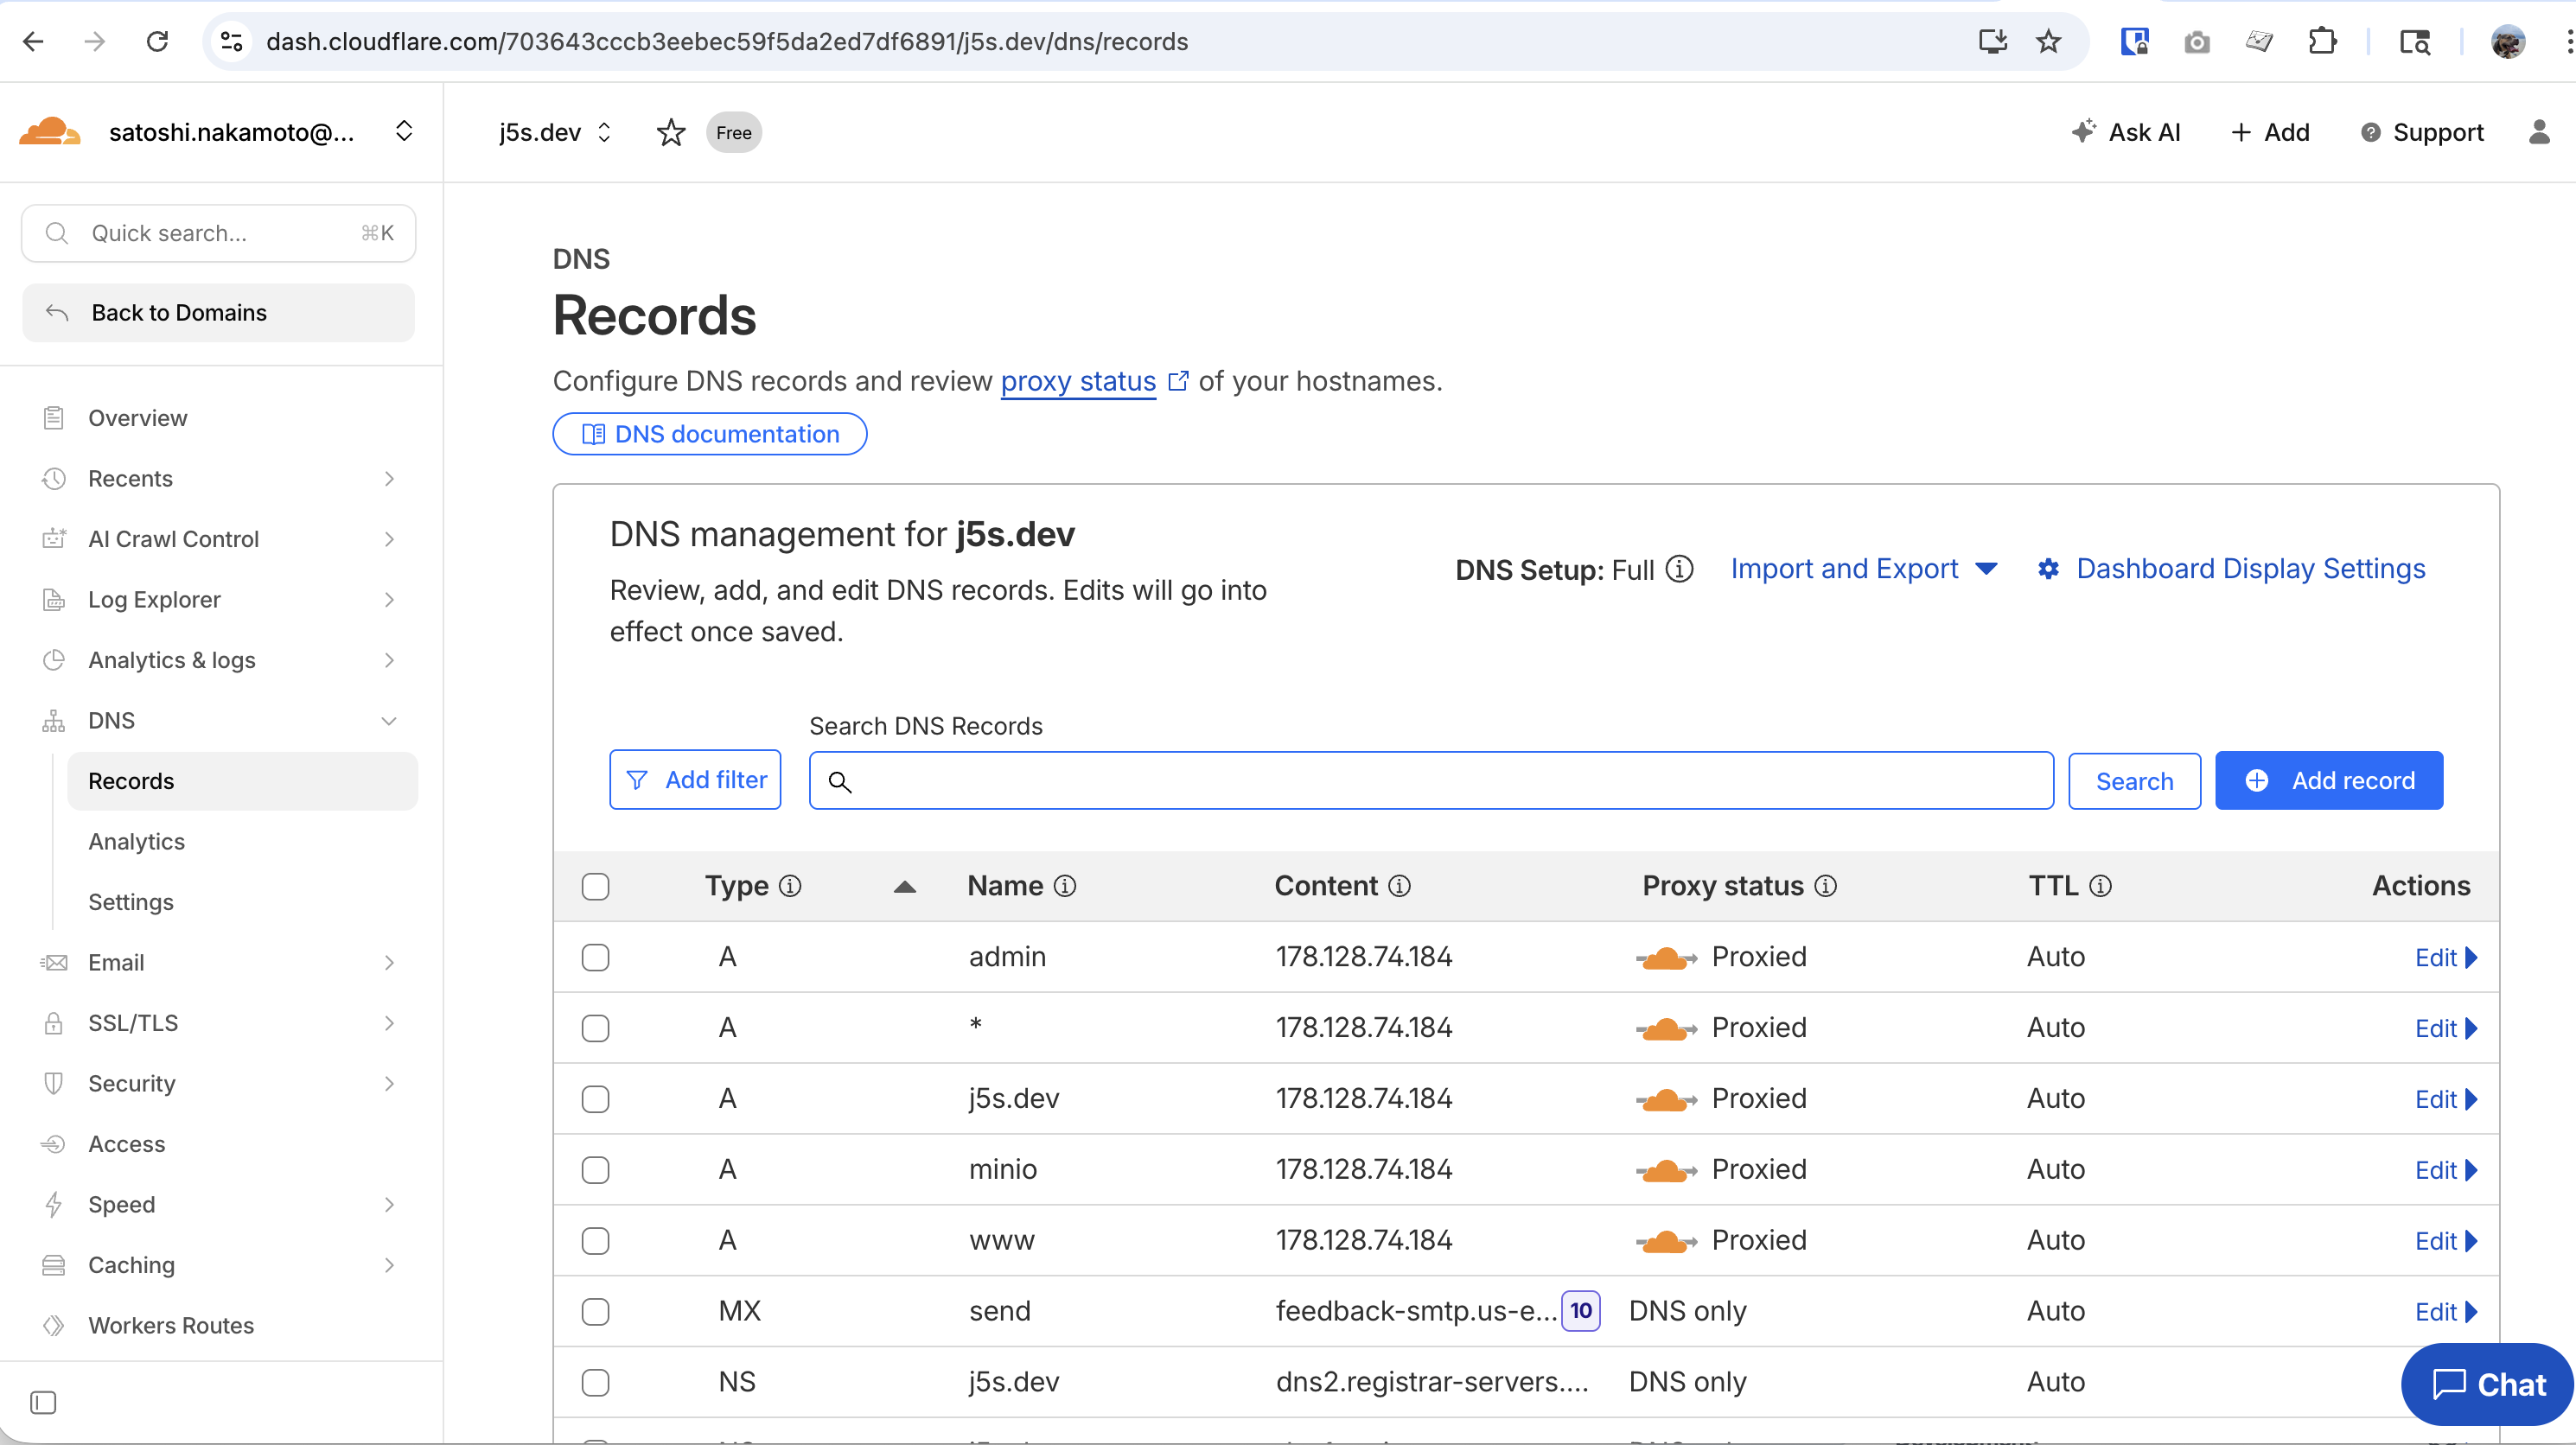
| Type | Name | Content | Proxy Status |
|---|---|---|---|
| A | @ | YOUR_SERVER_IP | Proxied (orange cloud) |
| A | * | YOUR_SERVER_IP | Proxied (orange cloud) |
@covers your root domain (yourdomain.com)*is a wildcard that covers all subdomains (admin.yourdomain.com,www.yourdomain.com,mysite.yourdomain.com, etc.)
Step 5: Generate an Origin Certificate
Origin Certificates encrypt traffic between Cloudflare and your server.

- In Cloudflare Dashboard, go to SSL/TLS > Origin Server
- Click Create Certificate
- Keep the default options:
- Generate private key and CSR with Cloudflare
- Key type: RSA (2048)
- Hostnames should already include
yourdomain.comand*.yourdomain.com(keep these defaults) - Select Certificate Validity: 15 years (recommended)
- Click Create
You'll see two text blocks:
- Origin Certificate - The certificate (starts with
-----BEGIN CERTIFICATE-----) - Private Key - The key (starts with
-----BEGIN PRIVATE KEY-----)
Copy both the certificate and private key now. The private key is only shown once and cannot be retrieved later.
Return to the Terminal
Now go back to your terminal where the installer is waiting for you to paste the certificate:
- Paste your Origin Certificate (the full text including
-----BEGIN CERTIFICATE-----and-----END CERTIFICATE-----), then press Enter on a blank line - Paste your Private Key (the full text including
-----BEGIN PRIVATE KEY-----and-----END PRIVATE KEY-----), then press Enter on a blank line
The installer will save the certificates and continue to the next step.
Step 6: Set SSL Mode to Full (Strict)
This ensures end-to-end encryption:
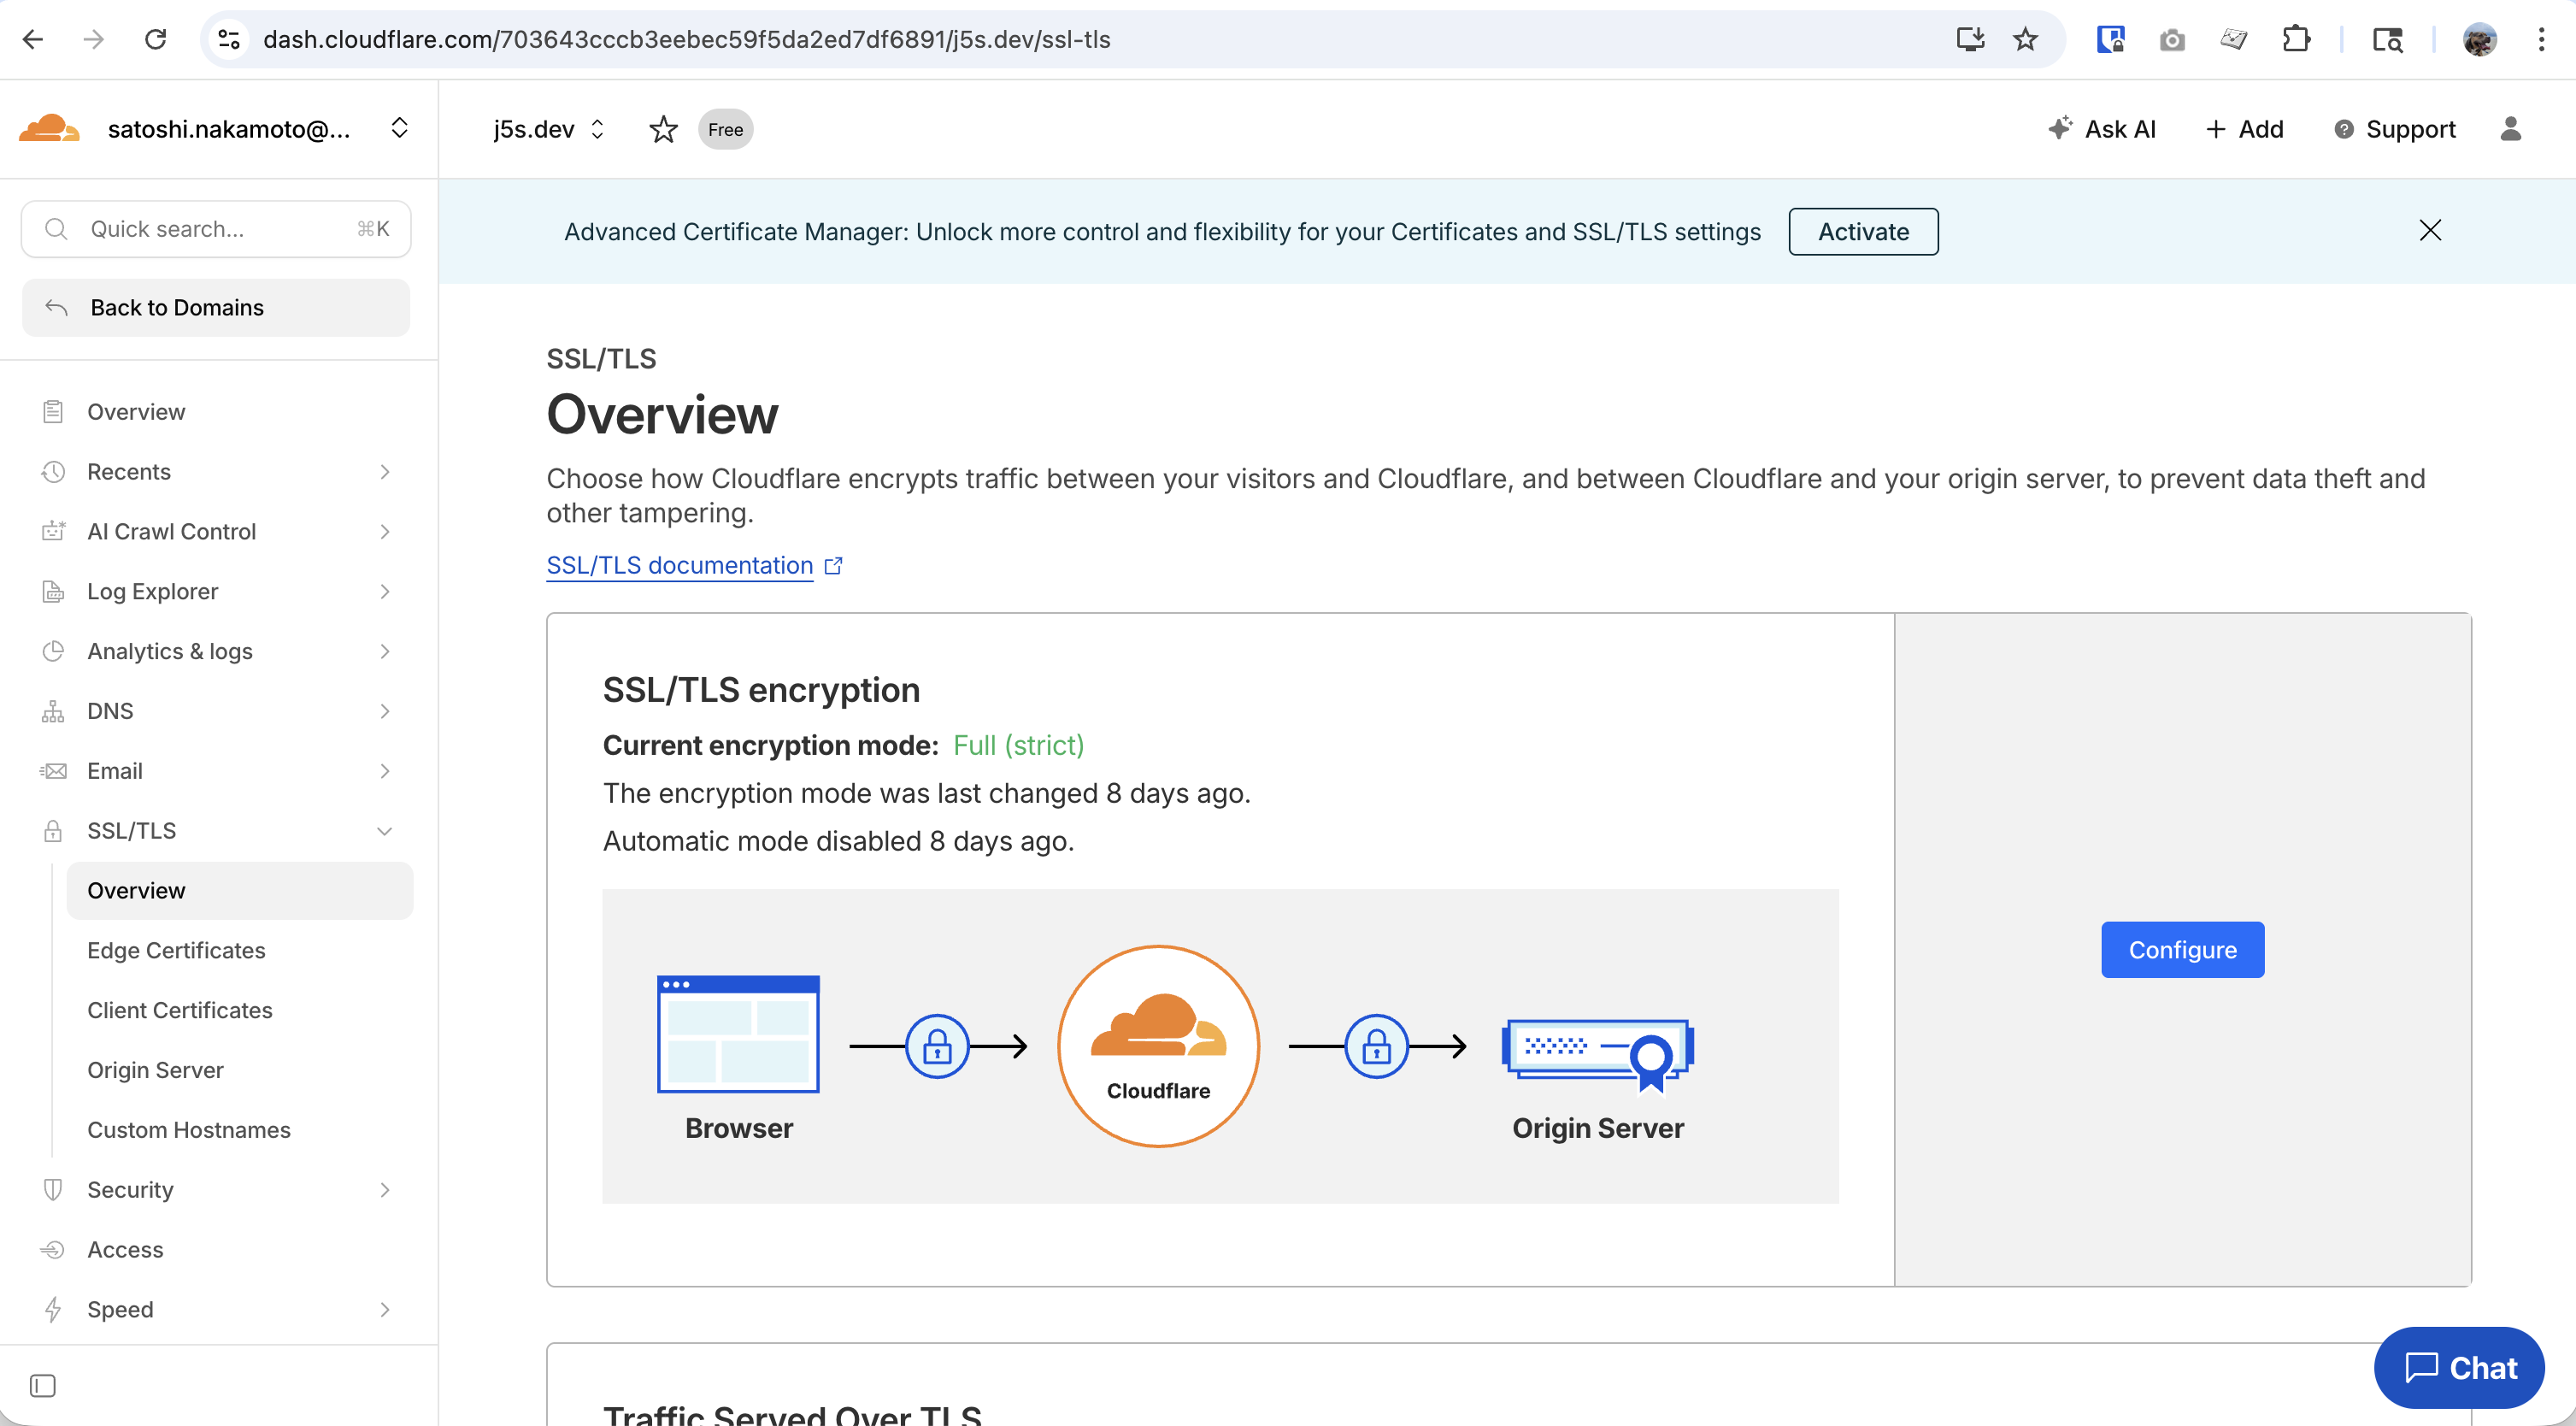
- In Cloudflare Dashboard, go to SSL/TLS > Overview
- Set SSL/TLS encryption mode to Full (strict)
Flexible mode means traffic between Cloudflare and your server is unencrypted. Always use Full (strict) with Origin Certificates.
Step 7: Setup Complete
After pasting the certificates, the installer will show the "Setup Complete" screen:
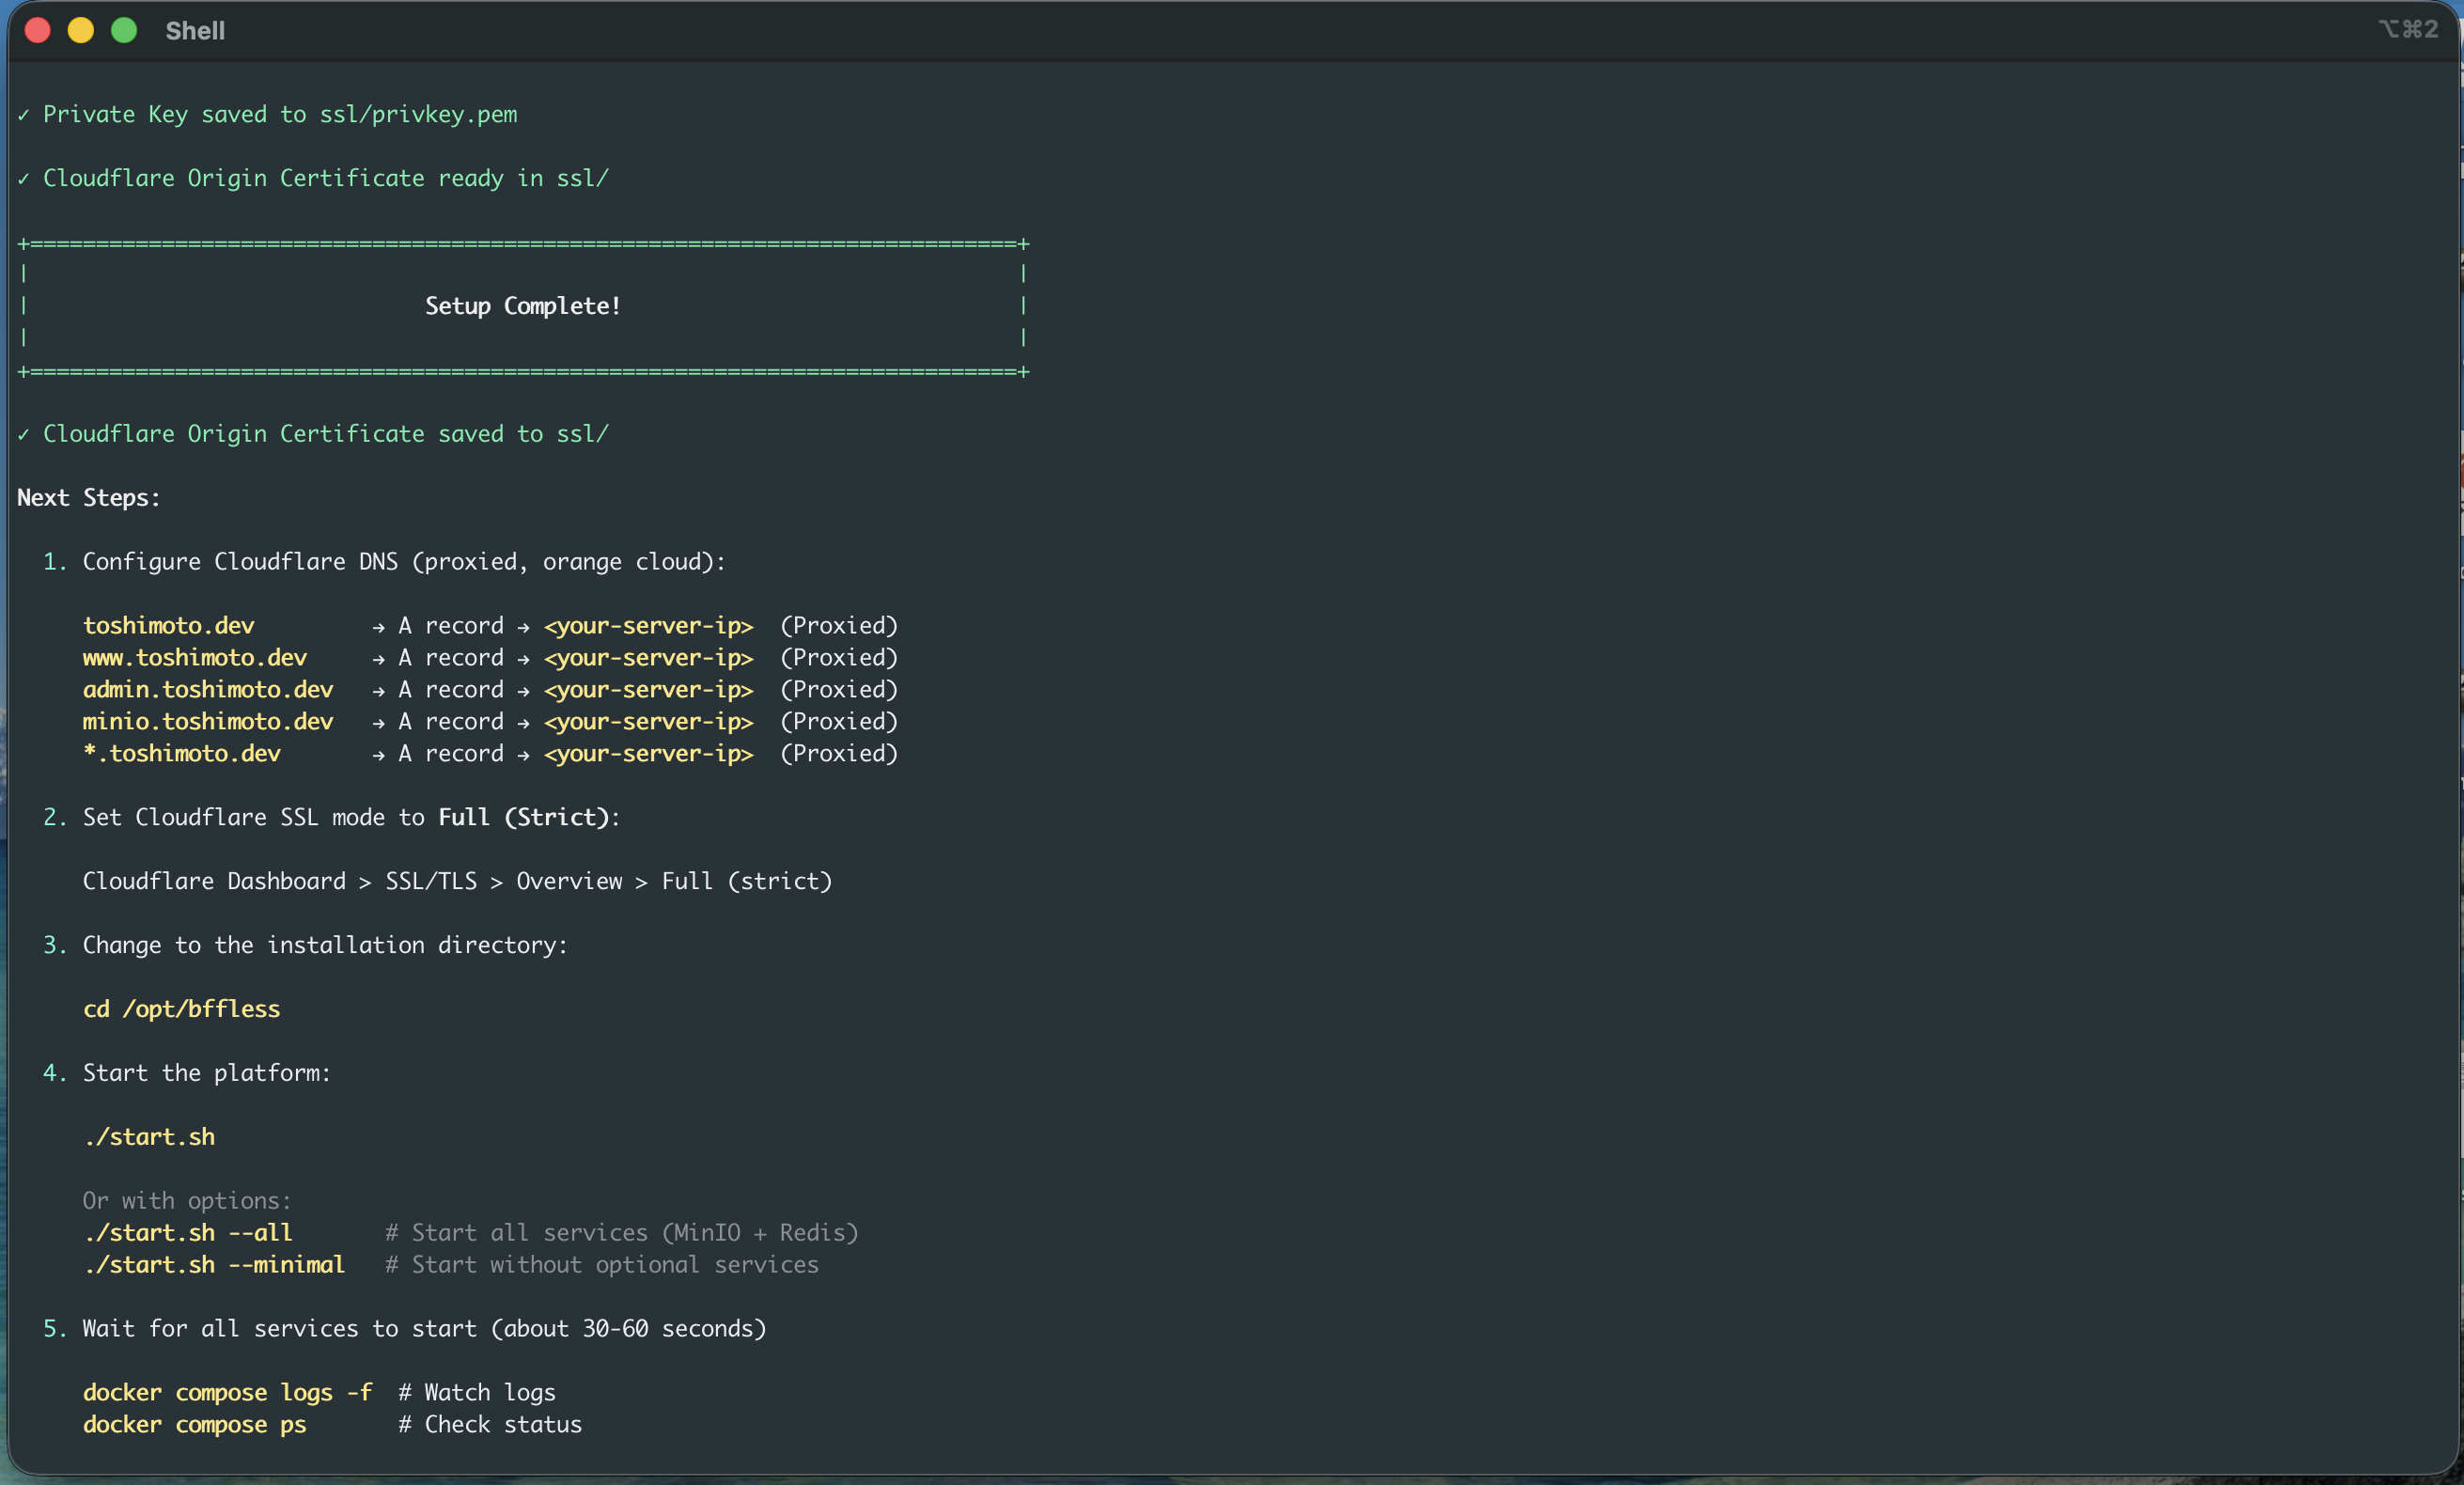
Step 8: Start and Complete Setup
cd /opt/bffless
./start.sh
Visit https://admin.yourdomain.com to complete the setup wizard.
👉 Setup Wizard Guide - Detailed walkthrough of the setup wizard
Recommended Cloudflare Settings
For optimal performance, configure these settings in Cloudflare:
SSL/TLS:
- Encryption mode: Full (strict)
- Always Use HTTPS: On
- Minimum TLS Version: 1.2
Speed > Optimization:
- Auto Minify: JavaScript, CSS, HTML (all enabled)
- Brotli: On
Caching > Configuration:
- Caching Level: Standard
- Browser Cache TTL: 4 hours or higher
Security:
- Security Level: Medium
- Bot Fight Mode: On (optional)
Next Steps
👉 Setup Wizard - Complete the setup wizard to configure storage and create your admin account
Troubleshooting
SSL Certificate Errors
If you see certificate errors after setup:
- Verify SSL mode is set to Full (strict) in Cloudflare
- Check that you pasted the complete certificate including the
BEGINandENDlines - Ensure the Origin Certificate hostnames include your domain and
*.yourdomain.com
DNS Not Propagated
# Check if DNS is pointing to your server
dig yourdomain.com +short

# Should show your server's IP address
If DNS isn't propagated, wait 5-30 minutes and try again.
Orange Cloud vs Gray Cloud
- Orange cloud (Proxied): Traffic goes through Cloudflare - recommended
- Gray cloud (DNS only): Traffic goes directly to your server - won't get Cloudflare benefits
Make sure all records show the orange cloud icon.