First Deployment
After completing the setup wizard, follow these steps to deploy your first site.
1. Create Your First Repository
Repositories organize your deployed assets by project. Each repository can have multiple deployments (commits) and aliases (like production, staging).
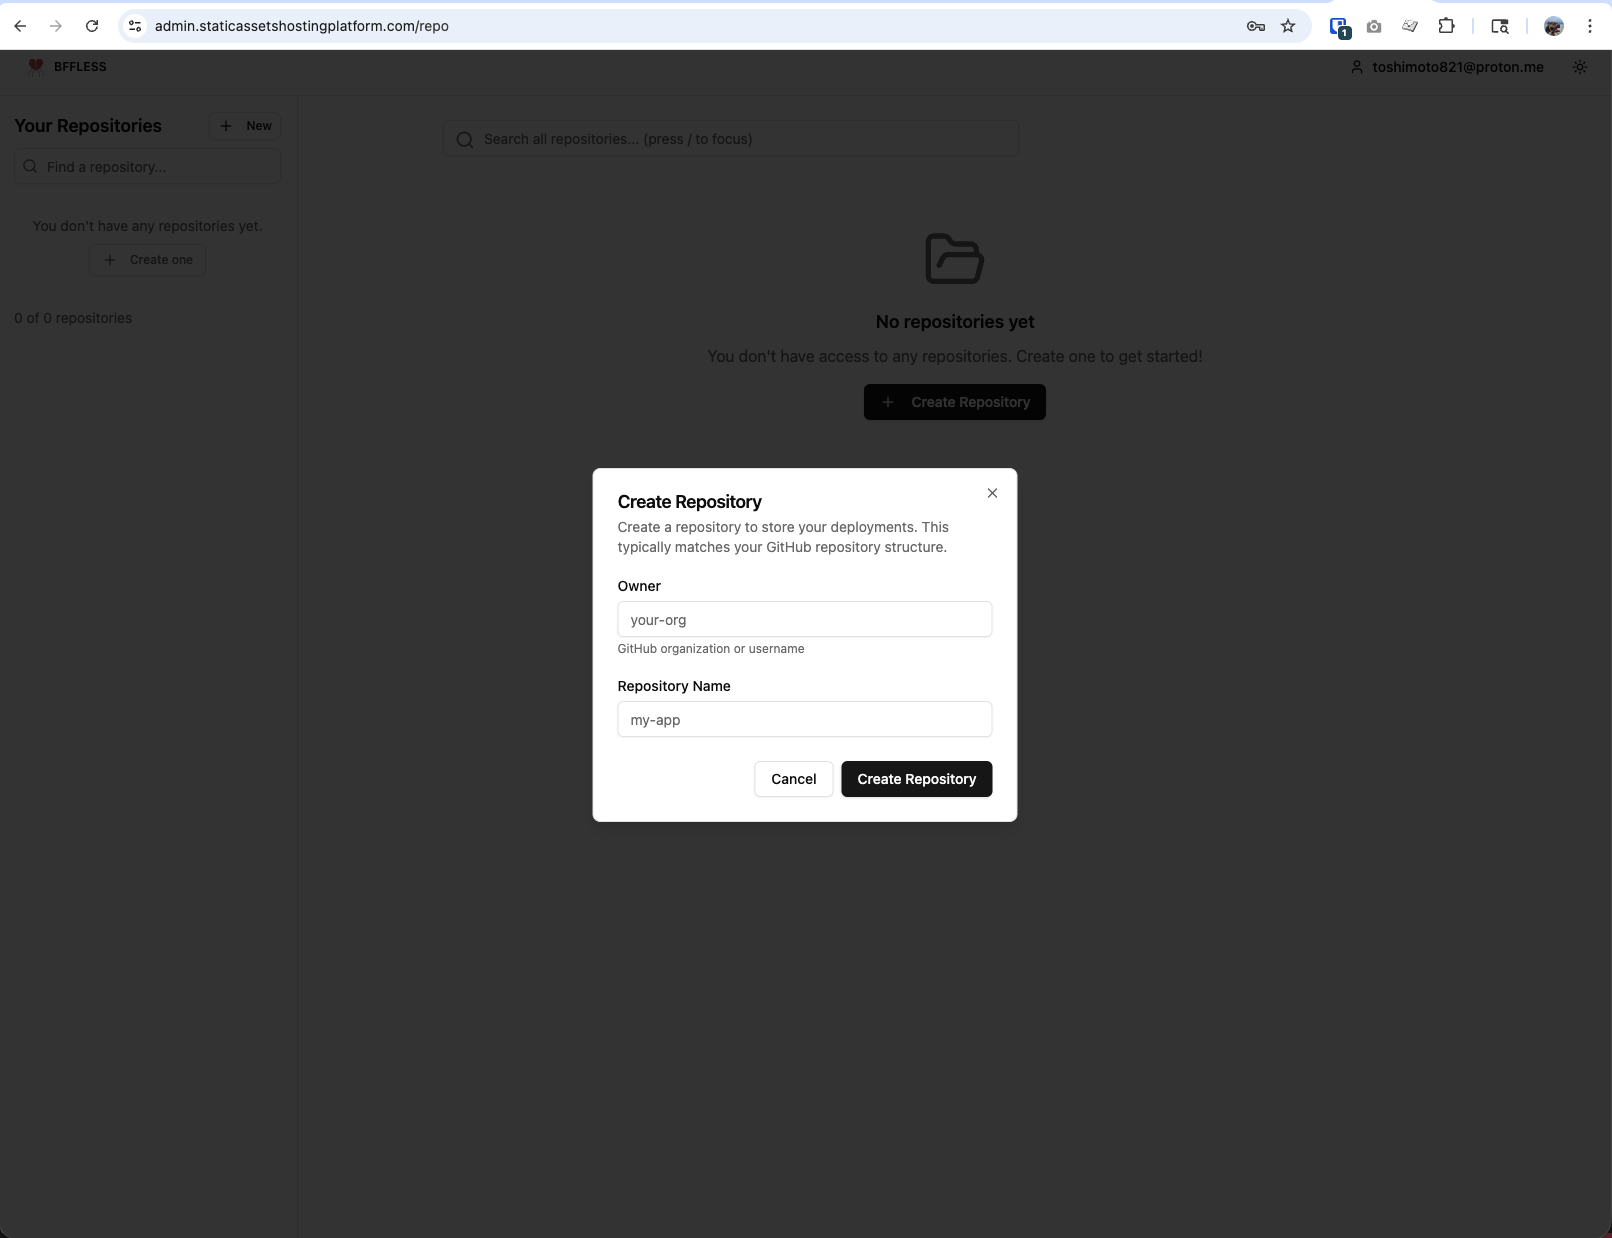
- From the dashboard, click Create Repository
- Enter the Owner - your GitHub organization or username
- Enter the Repository Name - your GitHub repository name
- Click Create Repository
Use the exact same owner and repo names as your GitHub repository (e.g., github.com/acme/my-app → Owner: acme, Repo: my-app). This keeps deployments organized and makes it easy to match them to source code.
2. Generate an API Key
API keys authenticate your CI/CD pipeline to upload assets to this repository.
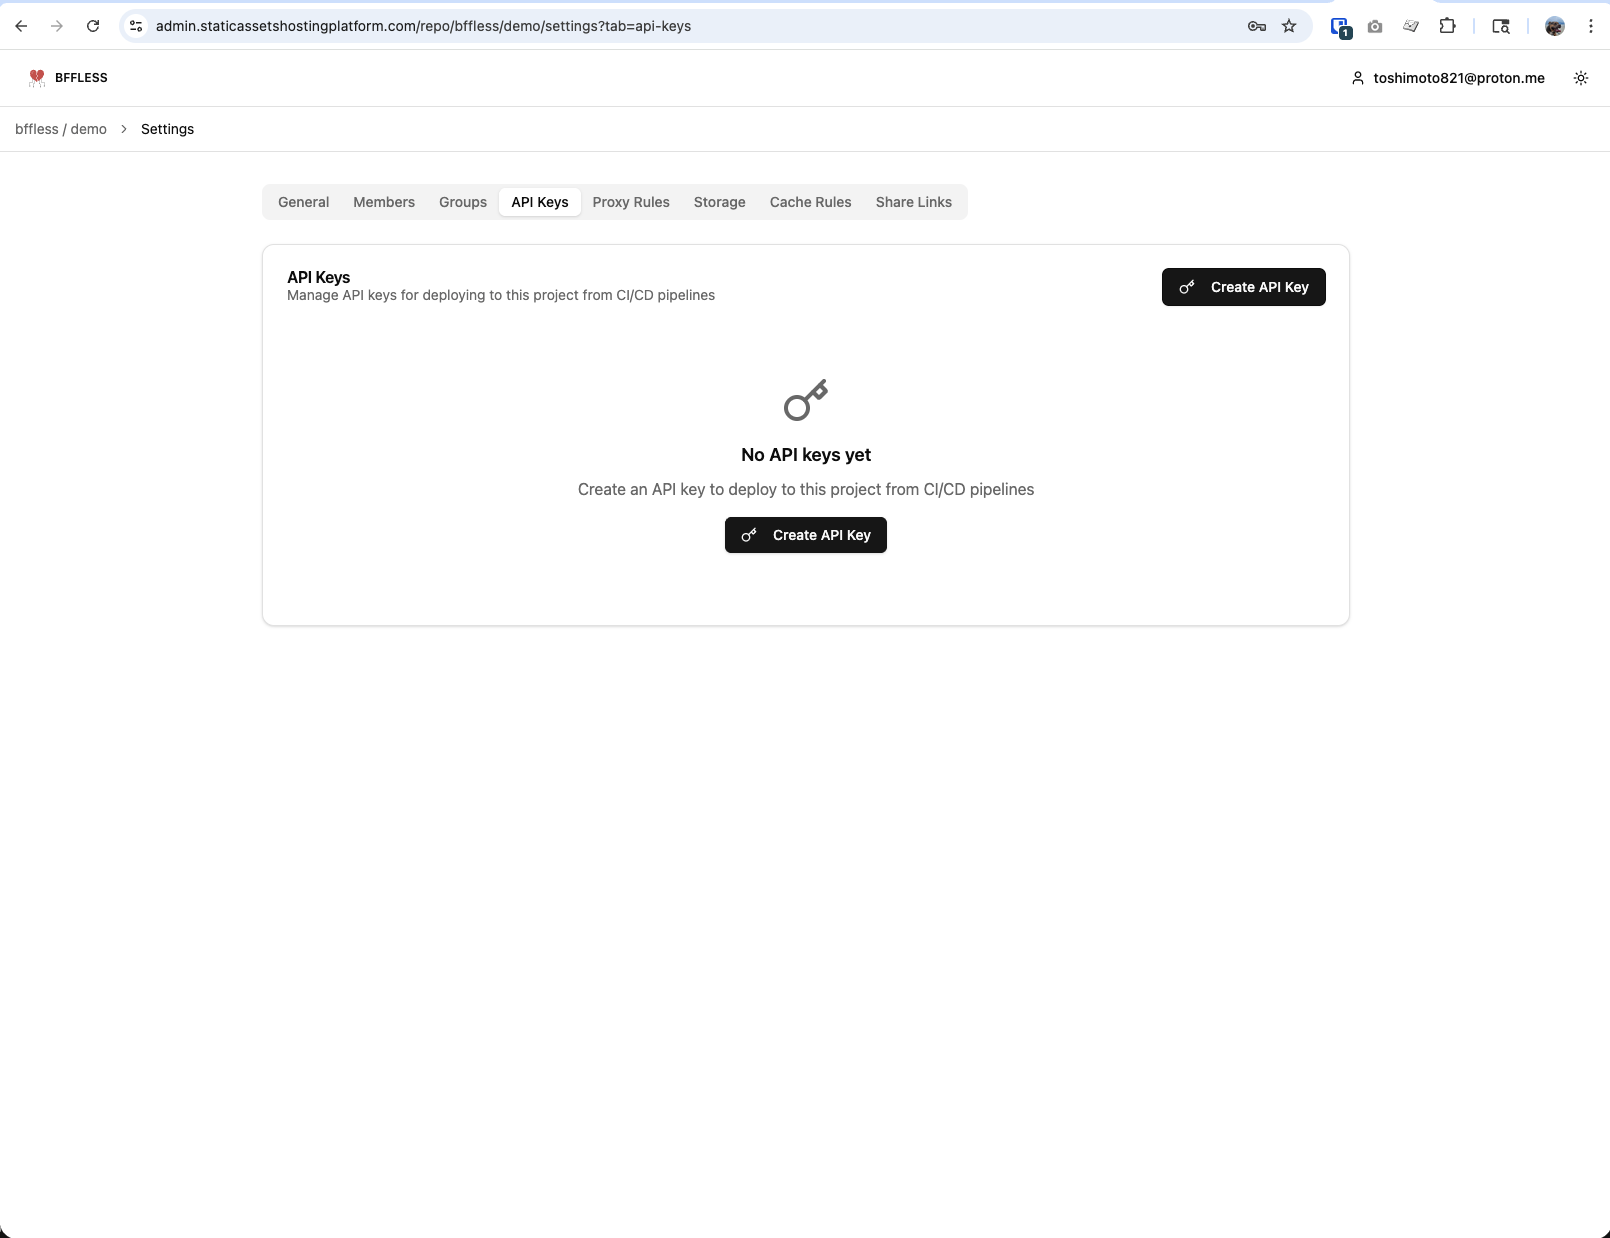
- Open your repository and go to Settings (in the breadcrumb navigation)
- Click the API Keys tab
- Click Create API Key
- Give it a descriptive name (e.g.,
github-actions) - Copy the key immediately - it won't be shown again!
The API key is only displayed once when created. If you lose it, you'll need to generate a new one.
3. Set Up GitHub Actions
Add the BFFless GitHub Action to automatically deploy on every push.
Create .github/workflows/deploy.yml in your repository:
name: Deploy to BFFless

on:
  push:
    branches: [main]
  workflow_dispatch: # Allow manual triggers

concurrency:
  group: deploy
  cancel-in-progress: false # Ensure deployments run in order

jobs:
  build-and-deploy:
    runs-on: ubuntu-latest
    steps:
      - uses: actions/checkout@v4

      - name: Setup Node.js
        uses: actions/setup-node@v4
        with:
          node-version: '20'

      - name: Install dependencies
        run: npm ci

      - name: Build
        run: npm run build

      - name: Deploy to BFFless
        uses: bffless/upload-artifact@v1
        with:
          path: dist
          api-url: ${{ vars.BFFLESS_URL }}
          api-key: ${{ secrets.BFFLESS_API_KEY }}
          alias: production
👉 View full example workflow - See the complete demo deployment workflow
Add a PR Preview Workflow
Add a second workflow to deploy a preview build for every pull request. Each PR gets its own alias (e.g. pr-42) so reviewers can open the live changes before merging.
Create .github/workflows/pr-preview.yml:
name: Preview to BFFless

on:
  pull_request:
    branches: [main]

permissions:
  contents: read
  pull-requests: write # Allow the action to comment the preview URL on the PR

jobs:
  build-and-preview:
    runs-on: ubuntu-latest
    steps:
      - uses: actions/checkout@v4

      - name: Setup Node.js
        uses: actions/setup-node@v4
        with:
          node-version: '20'

      - name: Install dependencies
        run: npm ci

      - name: Build
        run: npm run build

      - name: Deploy preview to BFFless
        uses: bffless/upload-artifact@v1
        with:
          path: dist
          api-url: ${{ vars.BFFLESS_URL }}
          api-key: ${{ secrets.BFFLESS_API_KEY }}
          alias: pr-${{ github.event.pull_request.number }}
          description: 'Preview for PR #${{ github.event.pull_request.number }}'
          pr-comment: true
          github-token: ${{ secrets.GITHUB_TOKEN }}
The action will create the pr-<number> alias on first run and update it on every subsequent push to the PR. With pr-comment: true (defaults to false) and github-token wired in, it also posts/updates a comment on the PR with the preview URL. permissions: pull-requests: write alone isn't enough — you must pass the token explicitly.
Add Secrets and Variables to GitHub
You must configure both a secret and a variable in your GitHub repository for the workflow to work.
- Go to your GitHub repository
- Navigate to Settings > Secrets and variables > Actions
Add the Secret (for your API key):
- Click the Secrets tab
- Click New repository secret
- Name:
BFFLESS_API_KEY - Value: Paste your API key from step 2
- Click Add secret
Add the Variable (for your BFFless URL):
- Click the Variables tab
- Click New repository variable
- Name:
BFFLESS_URL - Value:
https://admin.yourdomain.com(replace with your actual domain) - Click Add variable
Trigger Your First Deployment
Push a commit to the main branch to trigger the workflow:
git add .
git commit -m "Add BFFless deployment"
git push origin main
What's Next?
After your workflow runs successfully, your deployment will appear in BFFless.
👉 Viewing Deployments - Browse files, set up aliases, and configure custom domains