Build a Contact Form Using BFFless Rules as Code
What Are Rules as Code?
BFFless has a new feature called Rules as Code. The idea is simple: pipeline rules — the backend logic that handles form submissions, queries records, and more — can now live as YAML files right inside your code repository, rather than only being configured through the admin UI dashboard or the MCP server.
When you deploy a change to your front-end website and it has an accompanying rule — say, a backend pipeline that handles a form — that rule ships alongside your front-end code. This gives you proper version control, makes it easy to review backend behaviour in pull requests, and helps you understand exactly what your pipelines look like in the context of the rest of your codebase.
In this walkthrough we will create a new contact form for scheduling a demo meeting. It will include a database schema to store the submissions and a pipeline rule to validate and persist them, all generated with the help of an AI coding assistant and the BFFless CLI. All of the YAML shown below lives in the public example project repository if you want to follow along.
Generating the Pipeline and Schema with an AI Assistant
Inside VS Code, a new Claude session is started with a prompt that asks it to:
- Create a new BFFless pipeline and schema for a "schedule a demo" contact form.
- Use the BFFless scaffolding CLI functionality.
- Create a pipeline so the front end can POST data to the backend.
While the AI assistant is thinking, let's look at where Rules as Code files are stored: inside a .bffless folder at the root of the repository. Each rule is a YAML configuration file, similar in spirit to a GitHub Actions workflow.
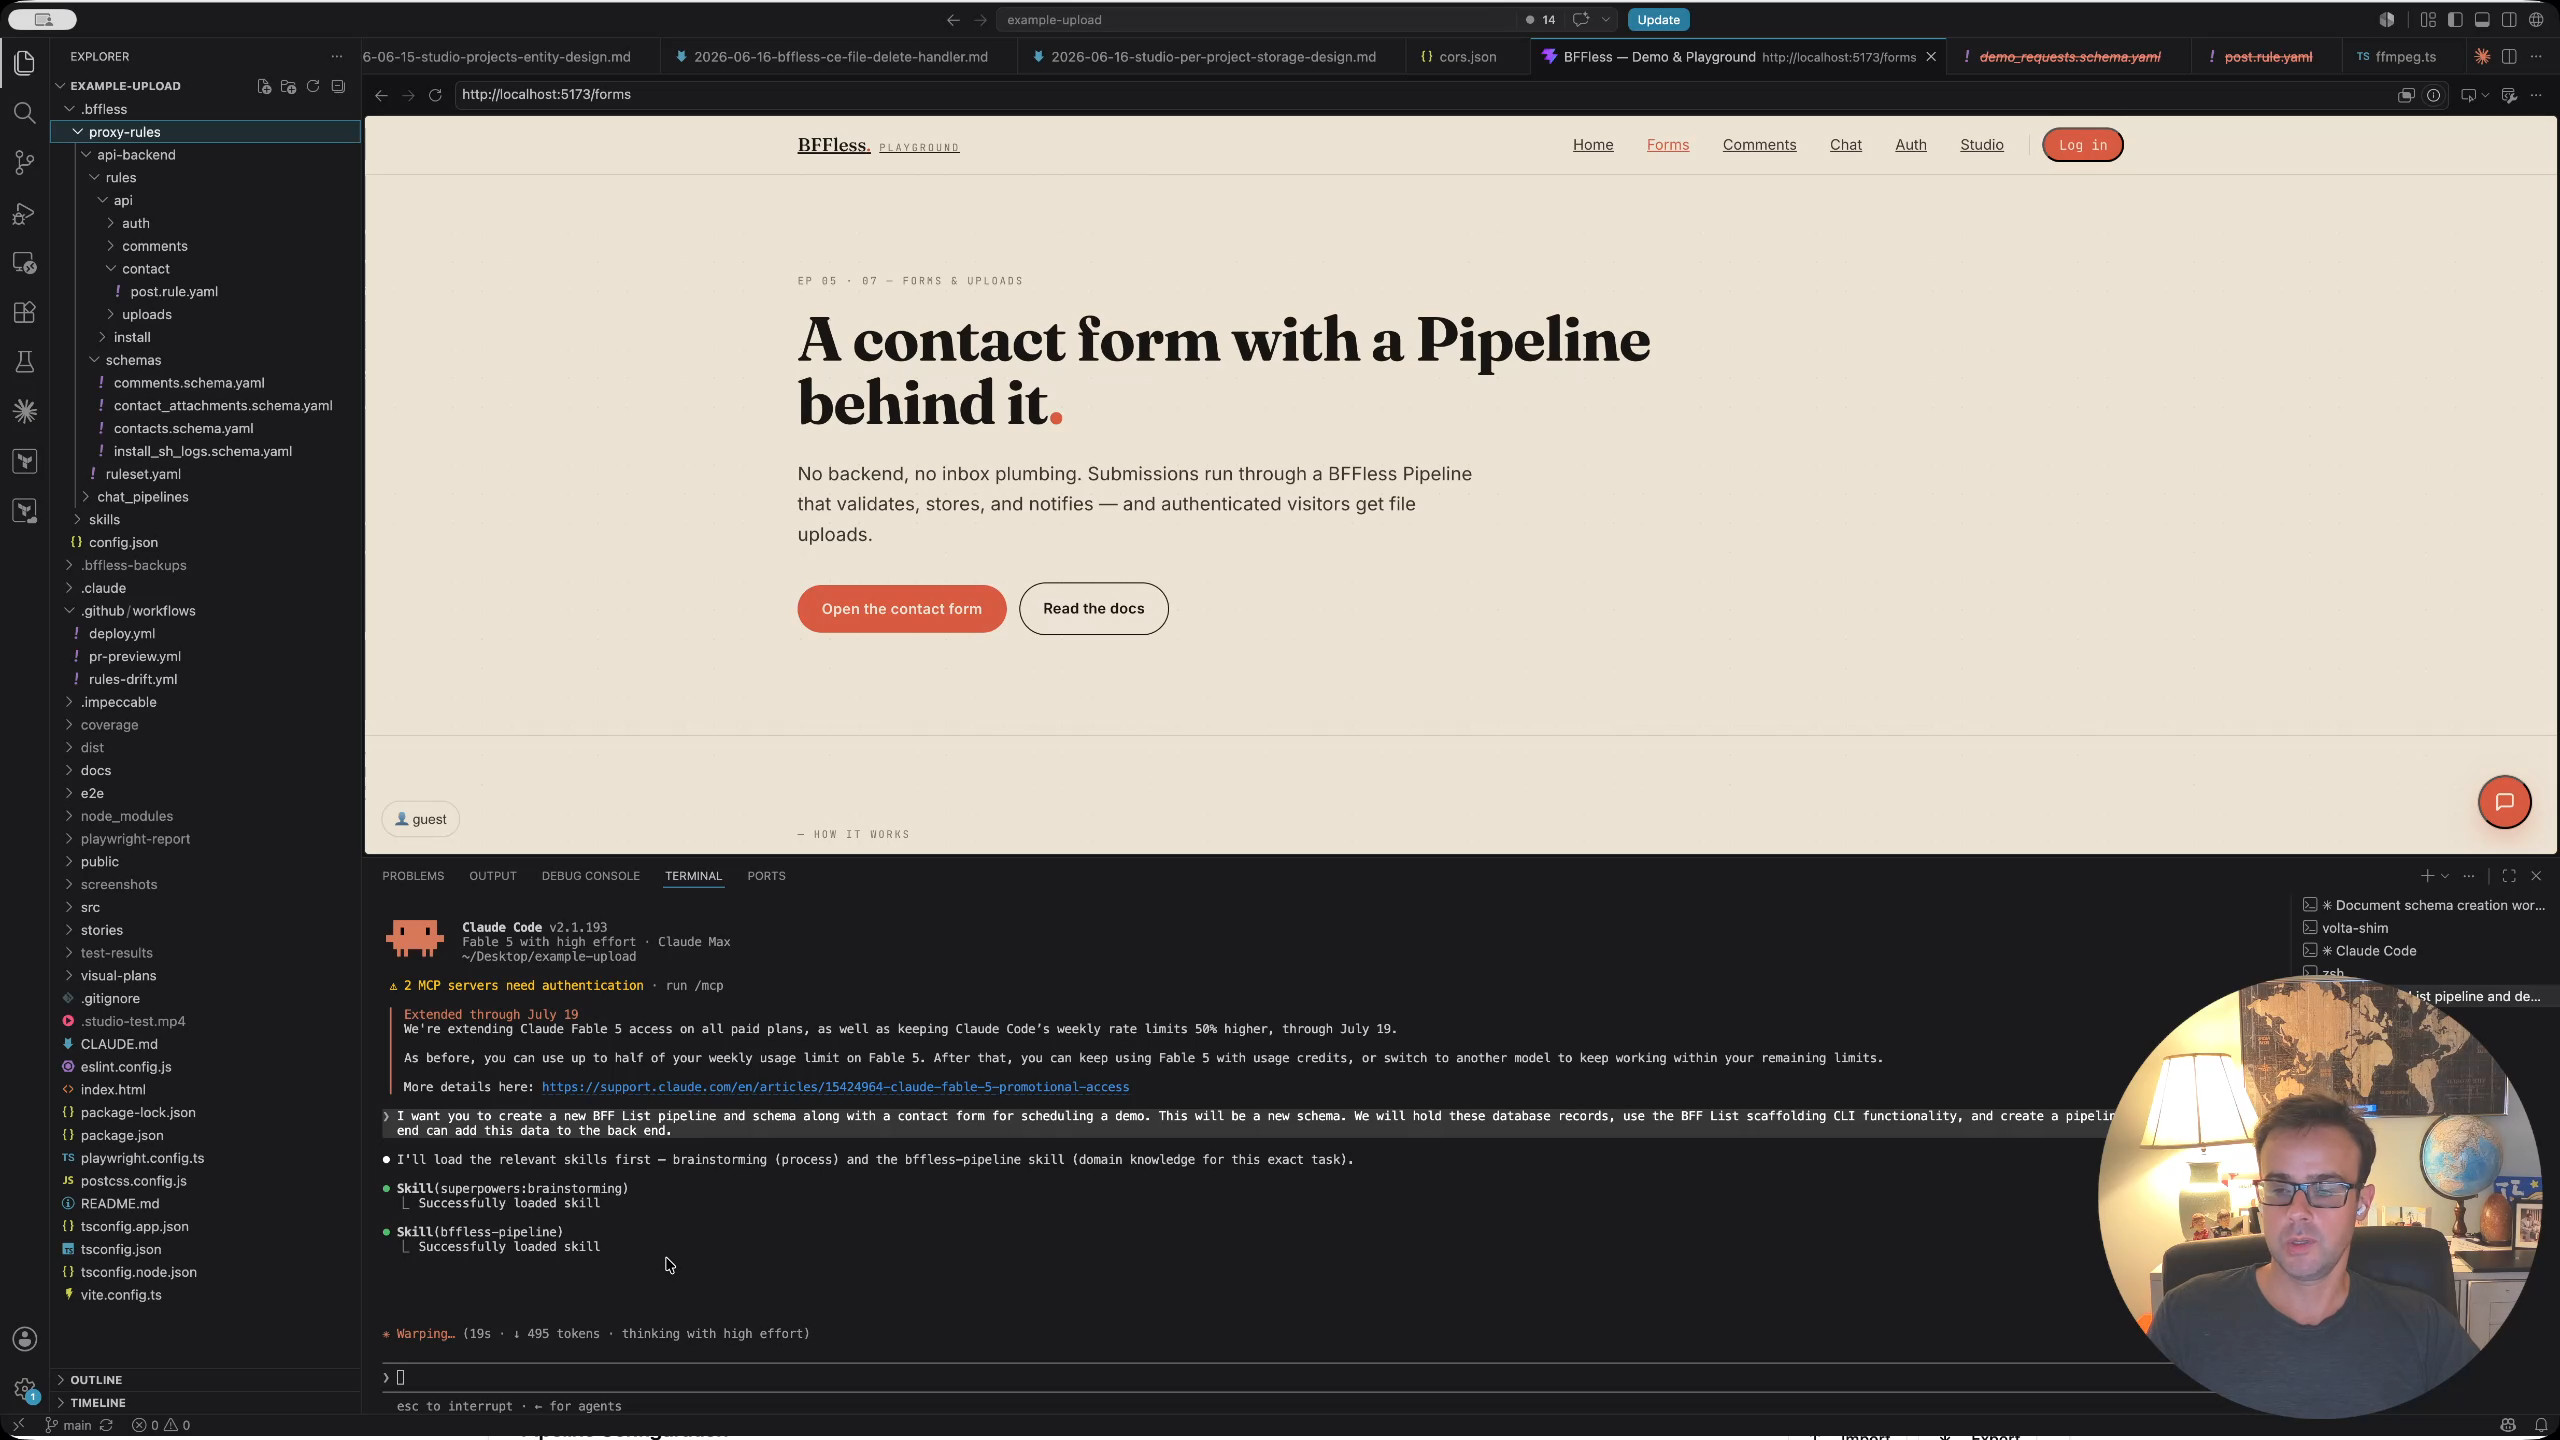
An existing contact schema is a good example of the format — it defines fields like name, email, comments, and phone. The new demo-request pipeline will follow the same pattern.
name: contacts
fields:
  - name: name
    type: string
    required: true
  - name: email
    type: email
    required: true
  - name: comment
    type: string
    required: true
  - name: phone
    type: string
    required: false
  - name: attachment_url
    type: string
    required: false
The AI asks a few clarifying questions:
- Which fields? Standard fields — name, email, company, preferred date, preferred time, and notes.
- Where in the UI? A header dialogue on the forms page.
- What endpoint?
POST /api/demo-requests.
How the File Convention Works
The proxy rules as code follow a Next.js-style file convention for routes. Inside the .bffless/proxy-rules directory, folders map to URL path segments. Brackets denote dynamic segments (e.g., [...path] for a wildcard), and each HTTP method gets its own rule file — get.rule.yaml, post.rule.yaml, and so on.
.bffless/proxy-rules/api-backend/
├── ruleset.yaml
├── rules/
│   └── api/
│       ├── auth/[...path]/any.rule.yaml
│       ├── comments/
│       │   ├── get.rule.yaml
│       │   └── post.rule.yaml
│       ├── contact/post.rule.yaml
│       └── demo-requests/post.rule.yaml
└── schemas/
    ├── comments.schema.yaml
    ├── contacts.schema.yaml
    └── demo_requests.schema.yaml
For example, when a POST request hits /api/contact, the matching post.rule.yaml file fires. That rule validates the incoming fields (name and email are required) and then creates a record in the database:
# POST /api/contact — the header's contact dialog submits here.
description: Validate a contact submission and store it
pipeline:
  name: Contact Form Handler
  description: Validate the payload, then write one row to the `contacts` table
  steps:
    # Reject the request unless the required fields are present and well-typed.
    - id: form_validation
      name: form_validation
      handler: form_handler
      config:
        fields:
          name: { type: string, required: true }
          email: { type: string, required: true }
          phone: { type: string, required: false }
          comment: { type: string, required: true }
          attachment_url: { type: string, required: false }

    # Persist the validated fields. `$schema:contacts` resolves to
    # schemas/contacts.schema.yaml — a name, never a UUID.
    - id: create_record
      name: create_record
      handler: data_create
      config:
        schemaId: $schema:contacts
        fields:
          name: steps.form_validation.name
          email: steps.form_validation.email
          phone: steps.form_validation.phone
          comment: steps.form_validation.comment
          attachment_url: steps.form_validation.attachment_url
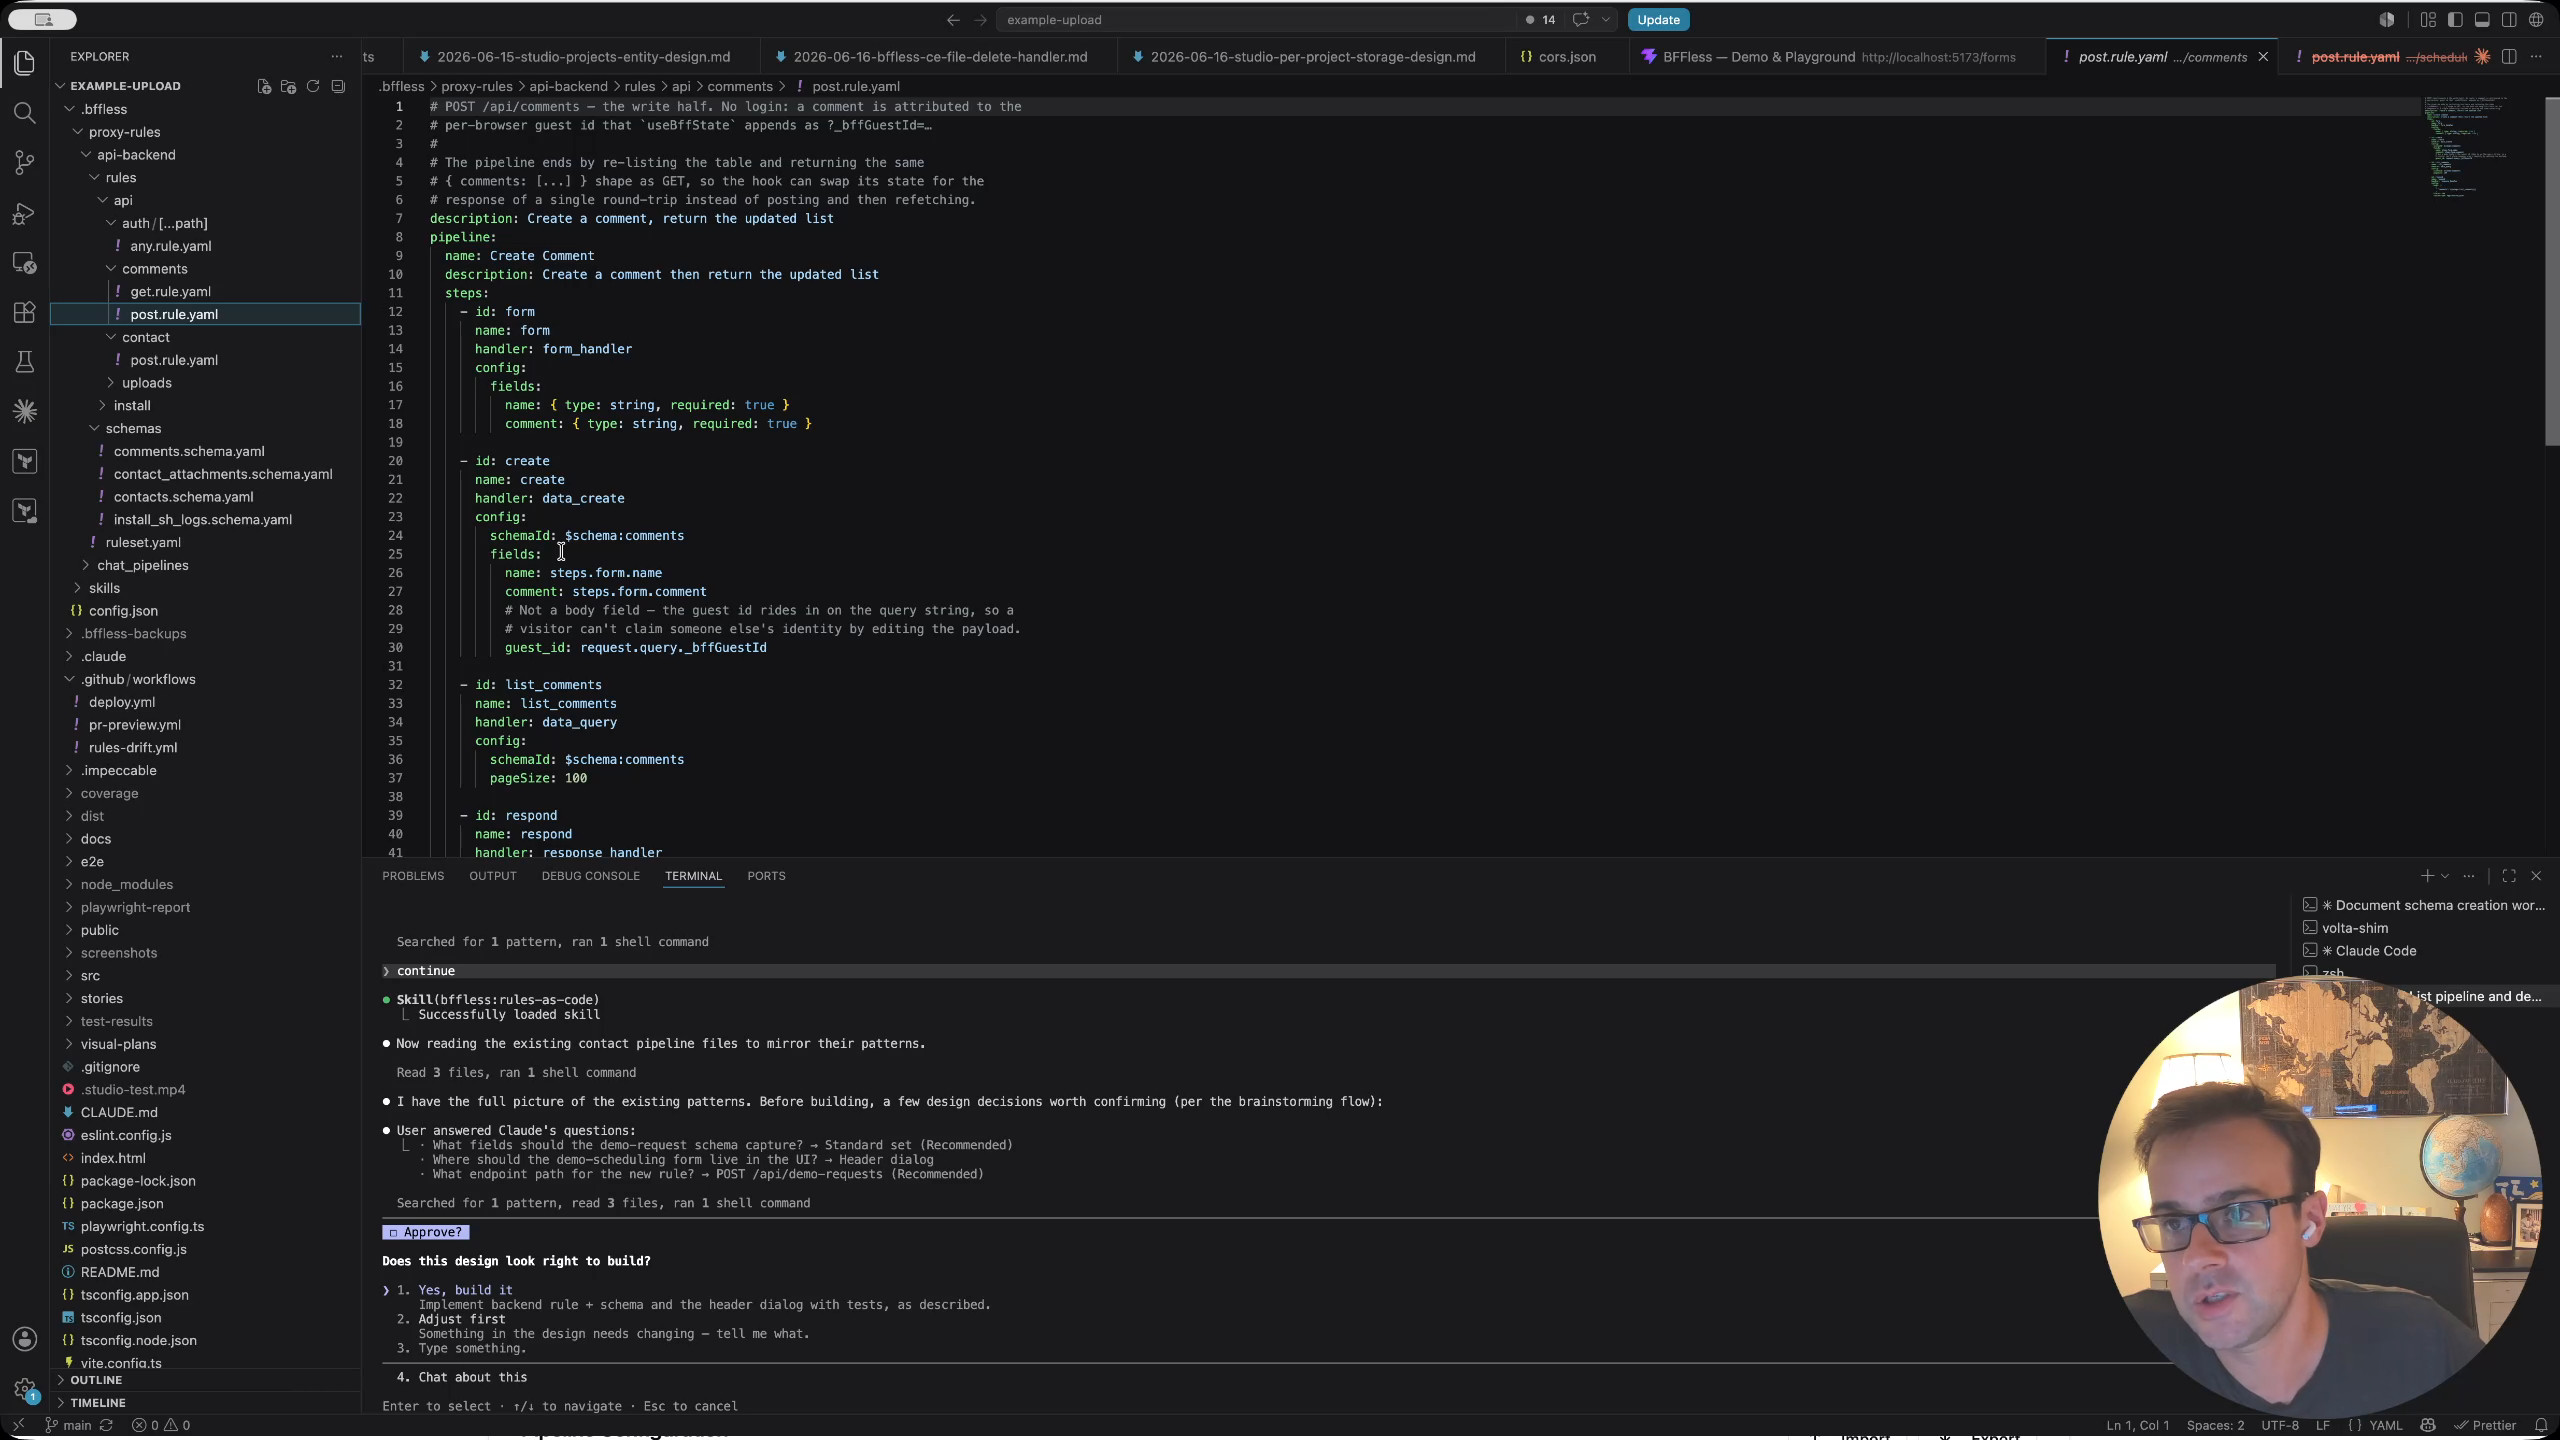
The AI assistant created a new demo-requests/post.rule.yaml file following this convention:
# POST /api/demo-requests — the header's "Schedule a demo" dialog submits here.
# Public: anyone can request a demo. Preferred date/time are free-form strings
# (the dialog sends ISO `YYYY-MM-DD` and `HH:MM`); scheduling is confirmed by a
# human follow-up, so the pipeline only validates and stores the request.
description: Validate a demo request and store it
pipeline:
  name: Demo Request Handler
  description: Validate the payload, then write one row to the `demo_requests` table
  steps:
    # Reject the request unless the required fields are present and well-typed.
    - id: form_validation
      name: form_validation
      handler: form_handler
      config:
        fields:
          name: { type: string, required: true }
          email: { type: string, required: true }
          company: { type: string, required: false }
          preferred_date: { type: string, required: false }
          preferred_time: { type: string, required: false }
          notes: { type: string, required: false }

    # Persist the validated fields. `$schema:demo_requests` resolves to
    # schemas/demo_requests.schema.yaml — a name, never a UUID.
    - id: create_record
      name: create_record
      handler: data_create
      config:
        schemaId: $schema:demo_requests
        fields:
          name: steps.form_validation.name
          email: steps.form_validation.email
          company: steps.form_validation.company
          preferred_date: steps.form_validation.preferred_date
          preferred_time: steps.form_validation.preferred_time
          notes: steps.form_validation.notes
It also generated the database schema with fields for name, email, company, preferred date, preferred time, and notes, and then began building out the front-end form component.
name: demo_requests
fields:
  - name: name
    type: string
    required: true
  - name: email
    type: email
    required: true
  - name: company
    type: string
    required: false
  - name: preferred_date
    type: string
    required: false
  - name: preferred_time
    type: string
    required: false
  - name: notes
    type: string
    required: false
There is also an
npx bfflesscommand that can scaffold these files for you. The AI assistant happened to generate them directly by inspecting the existing repo structure, but the CLI is available if you prefer a more guided approach.
Deploying Rules via GitHub Actions
Rules as Code are deployed to the BFFless backend through a reusable GitHub Action: bffless/deploy-proxy-rules. The deploy pipeline is configured to push all rules found under .bffless/proxy-rules/api-backend (and any other configured paths, such as chat pipelines) using the project's API URL and API key. It works much like the upload artifact action.
Here is the sync step from the example project's deploy workflow — it runs before bffless/upload-artifact so the API routes exist by the time the front end that calls them goes live:
# Sync the rule sets BEFORE the bundle that calls them, so a new route is
# never missing for the deploy that needs it. `prune: true` deletes rules
# the server has but git doesn't — git is the source of truth.
- name: Sync proxy rules to BFFless
  id: rules
  uses: bffless/deploy-proxy-rules@v1
  with:
    path: |
      .bffless/proxy-rules/api-backend
      .bffless/proxy-rules/chat_pipelines
    api-url: ${{ vars.BFFLESS_URL }}
    api-key: ${{ secrets.BFFLESS_API_KEY }}
    project: bffless/example-project
    prune: true
Each rule set directory carries a small ruleset.yaml that names it and pins the environment it deploys to:
name: api-backend
description: The demo site's API — contact form, attachment uploads, the comment wall, and the /install script proxy.
environment: production
Switching over to the BFFless admin dashboard in Chrome, the existing proxy rules are visible under the API Backend rule set. Each rule is labelled as "managed by Git," indicating it was pushed from the repository rather than created manually.
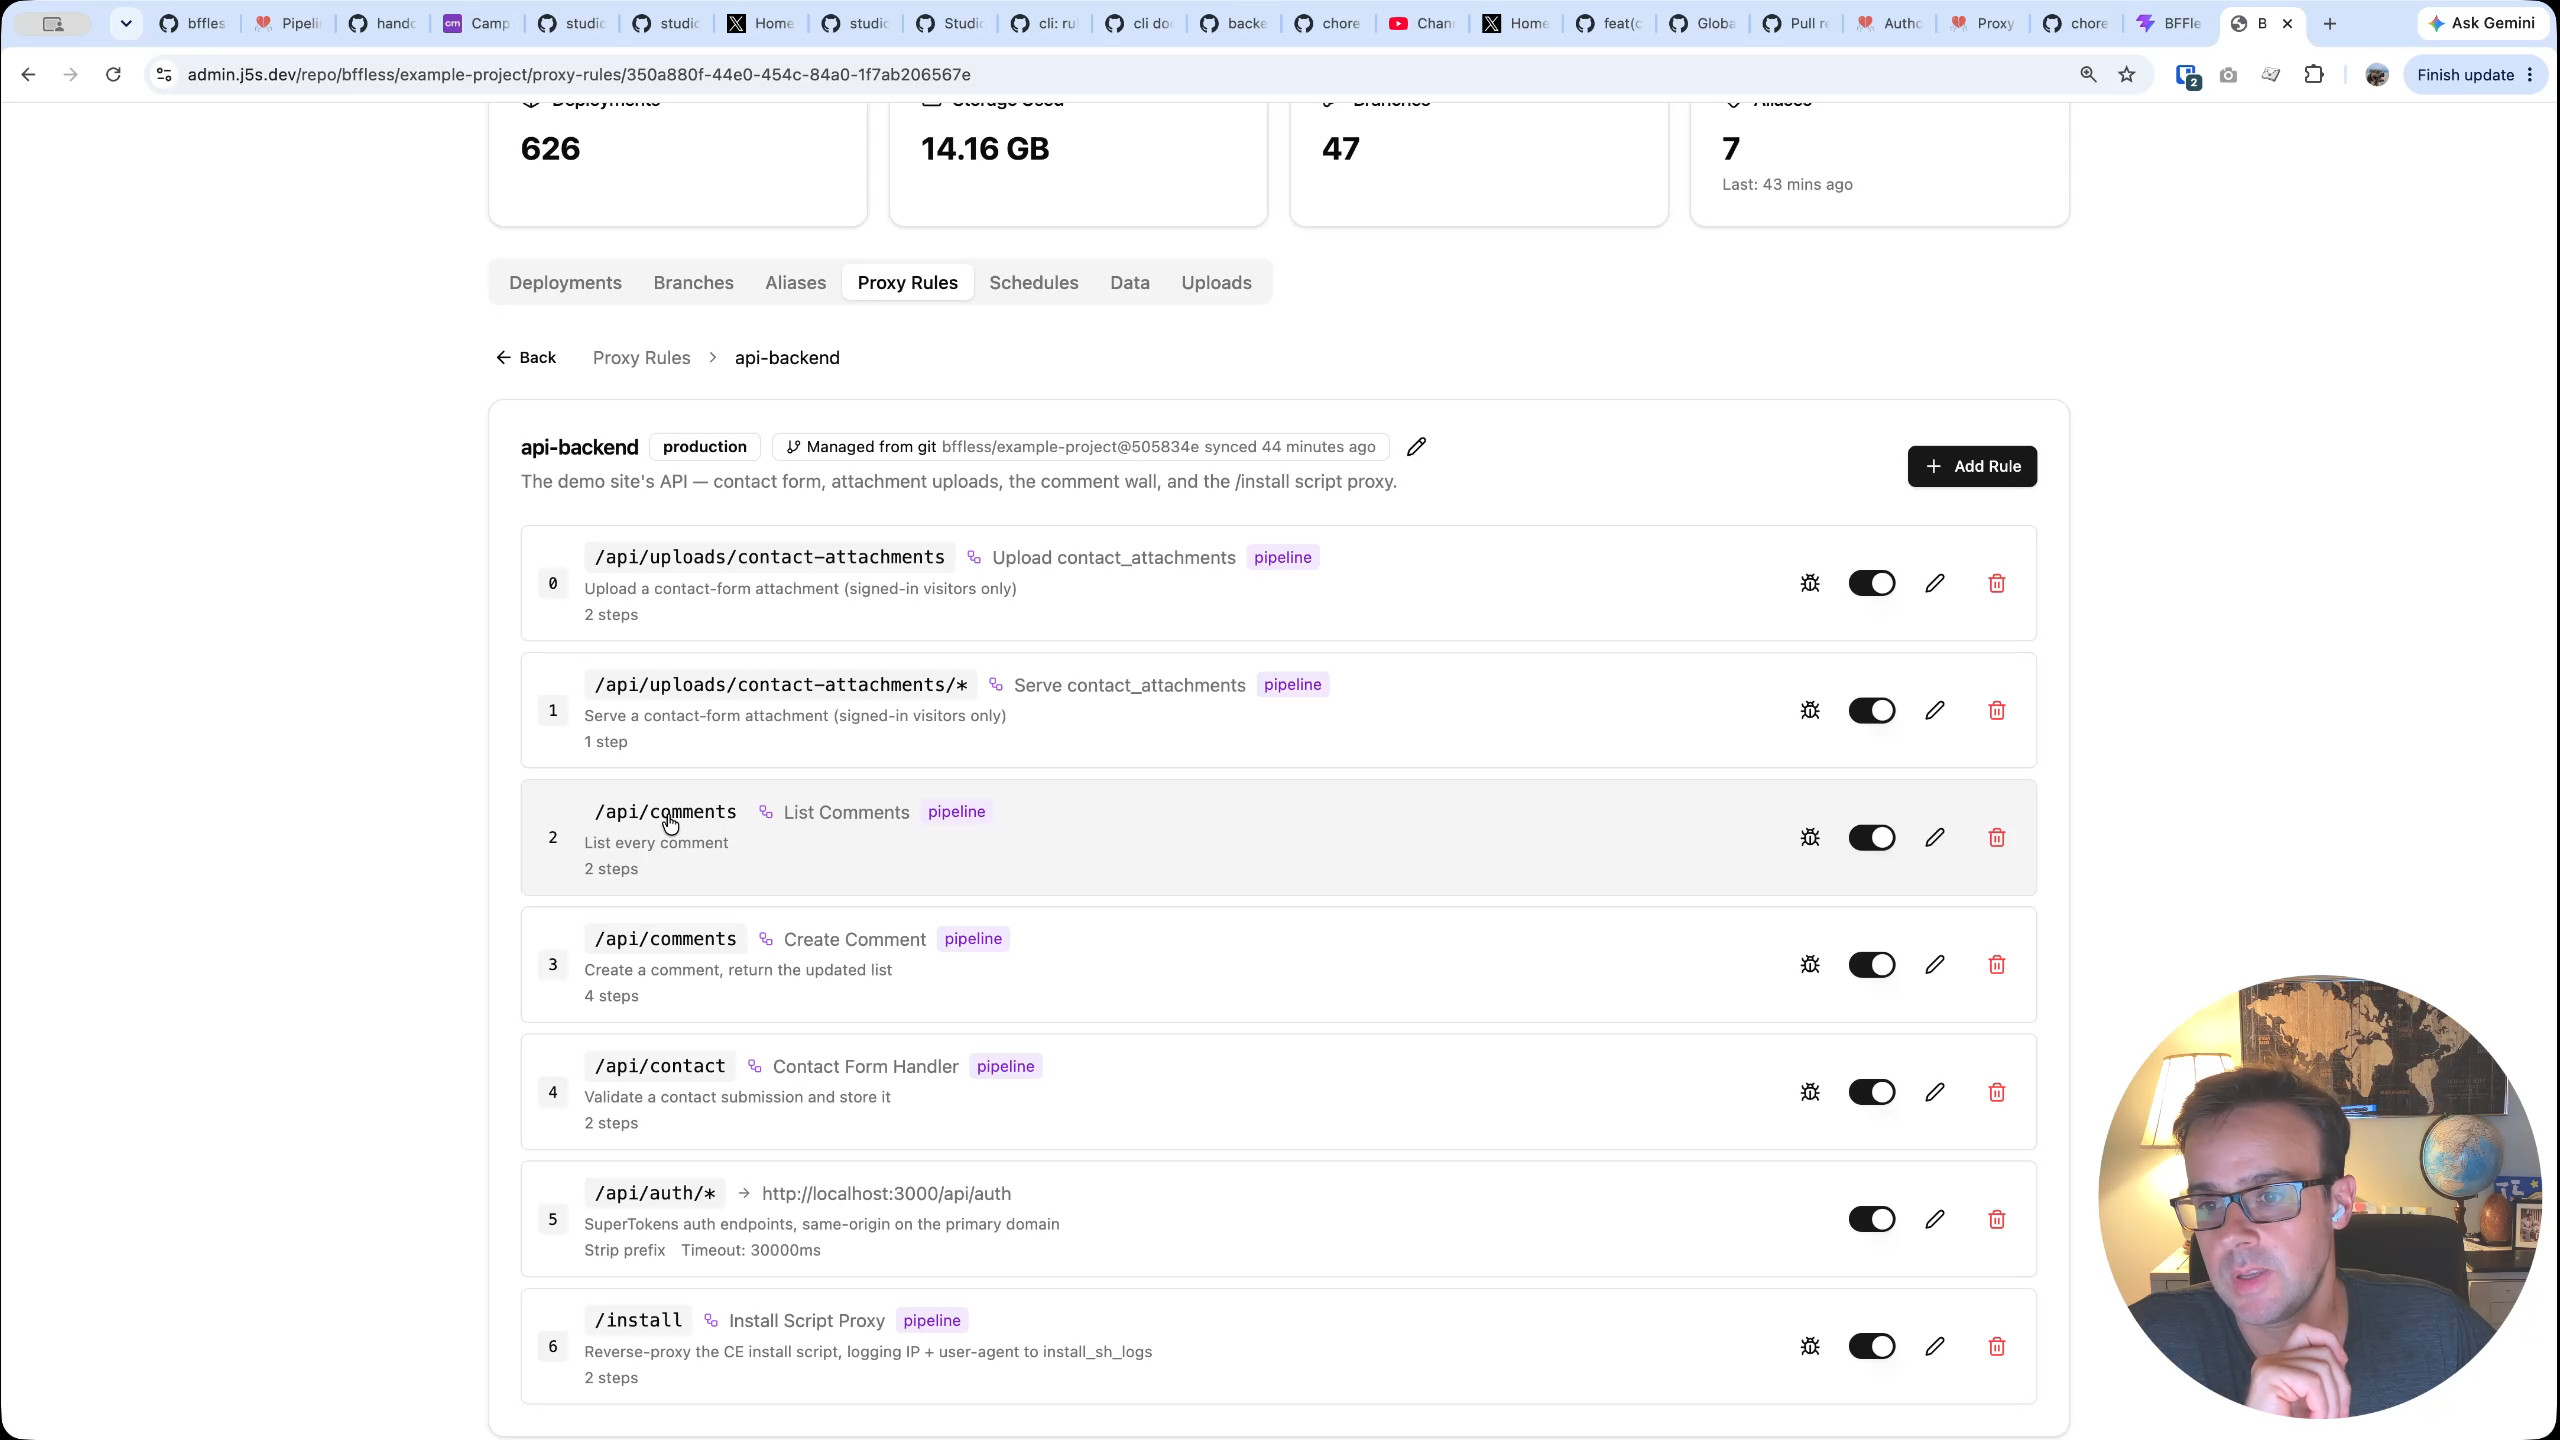
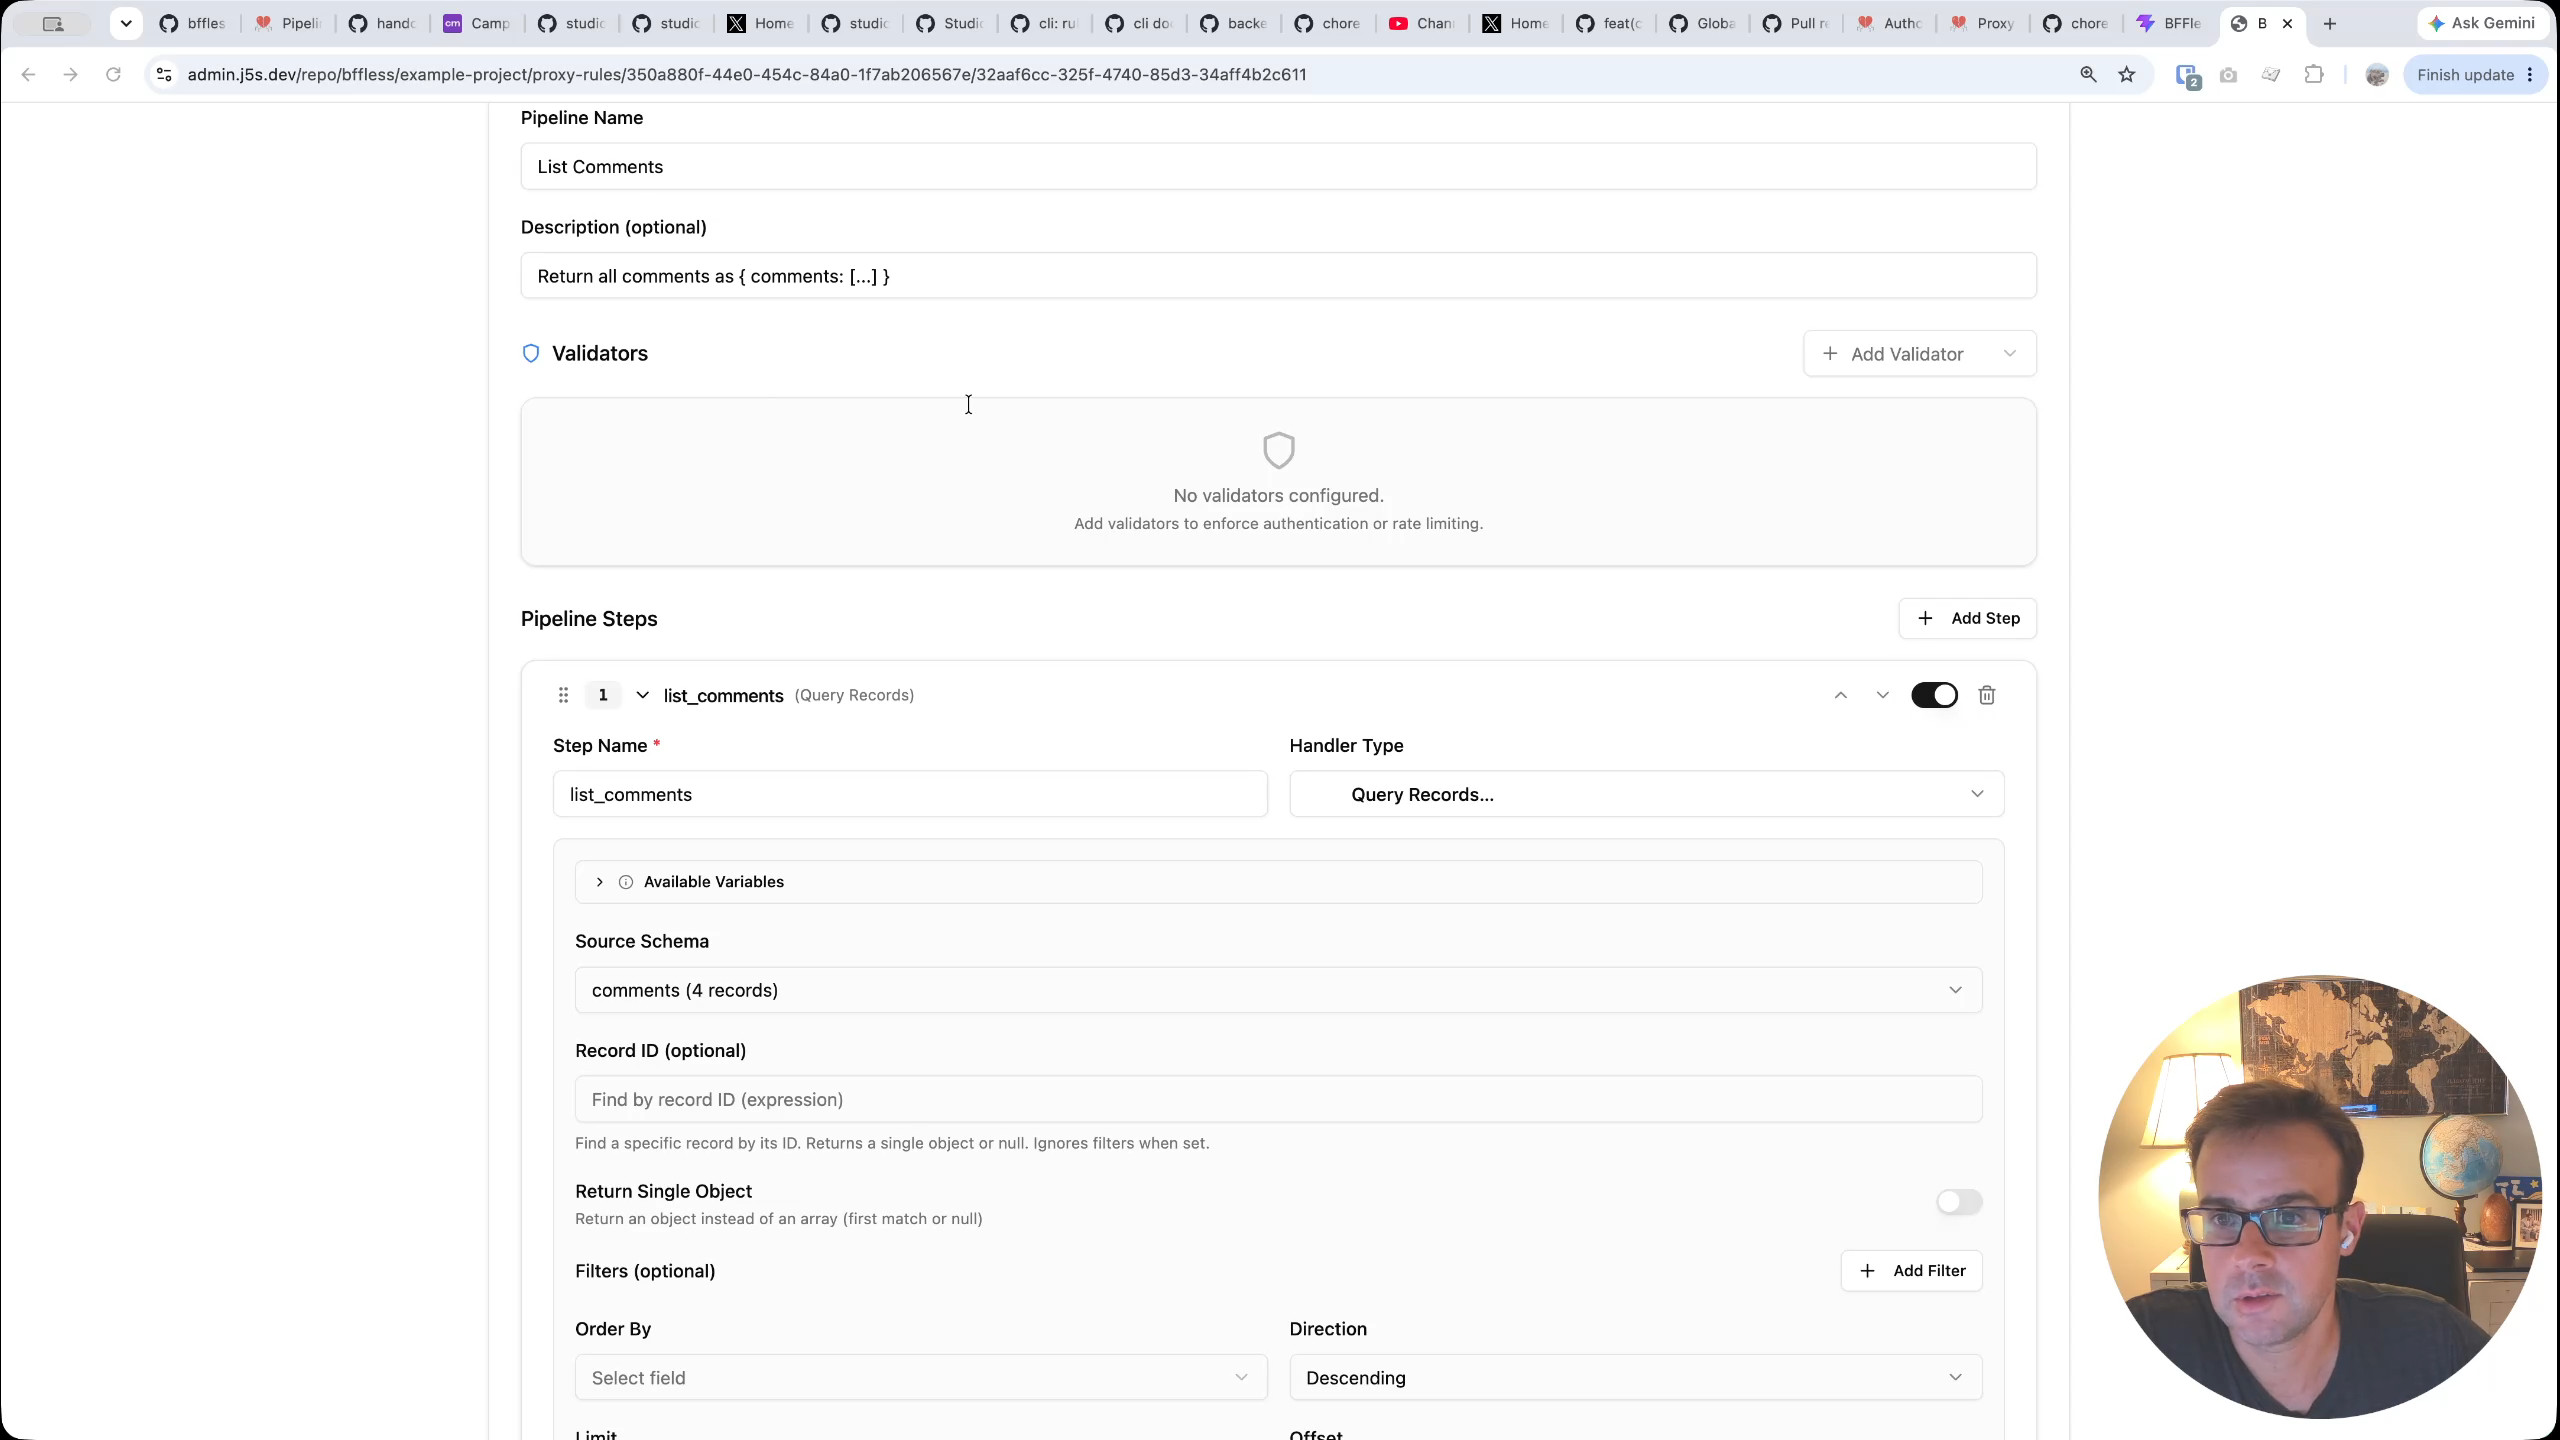
Drilling into one of them — API Comments / List Comments — reveals a pipeline that queries records with a page size of 100 and returns them via a response handler. The exact same configuration is visible in VS Code under api/comments/get.rule.yaml. Code is configuration; the YAML in the repo and the pipeline in the dashboard are one and the same.
# GET /api/comments — the read half of the comment wall. `useBffState` calls
# this on mount and expects the shape { comments: [...] }.
description: List every comment
pipeline:
  name: List Comments
  description: 'Return all comments as { comments: [...] }'
  steps:
    - id: list_comments
      name: list_comments
      handler: data_query
      config:
        schemaId: $schema:comments
        pageSize: 100

    # data_query returns a bare array; the hook wants it under a `comments` key.
    - id: respond
      name: respond
      handler: response_handler
      config:
        body: |-
          {
            "comments": {{{steps.list_comments}}}
          }
        status: 200
        contentType: application/json
With the new demo-request files ready, the AI assistant is told to raise a pull request.
Previewing Before Merge
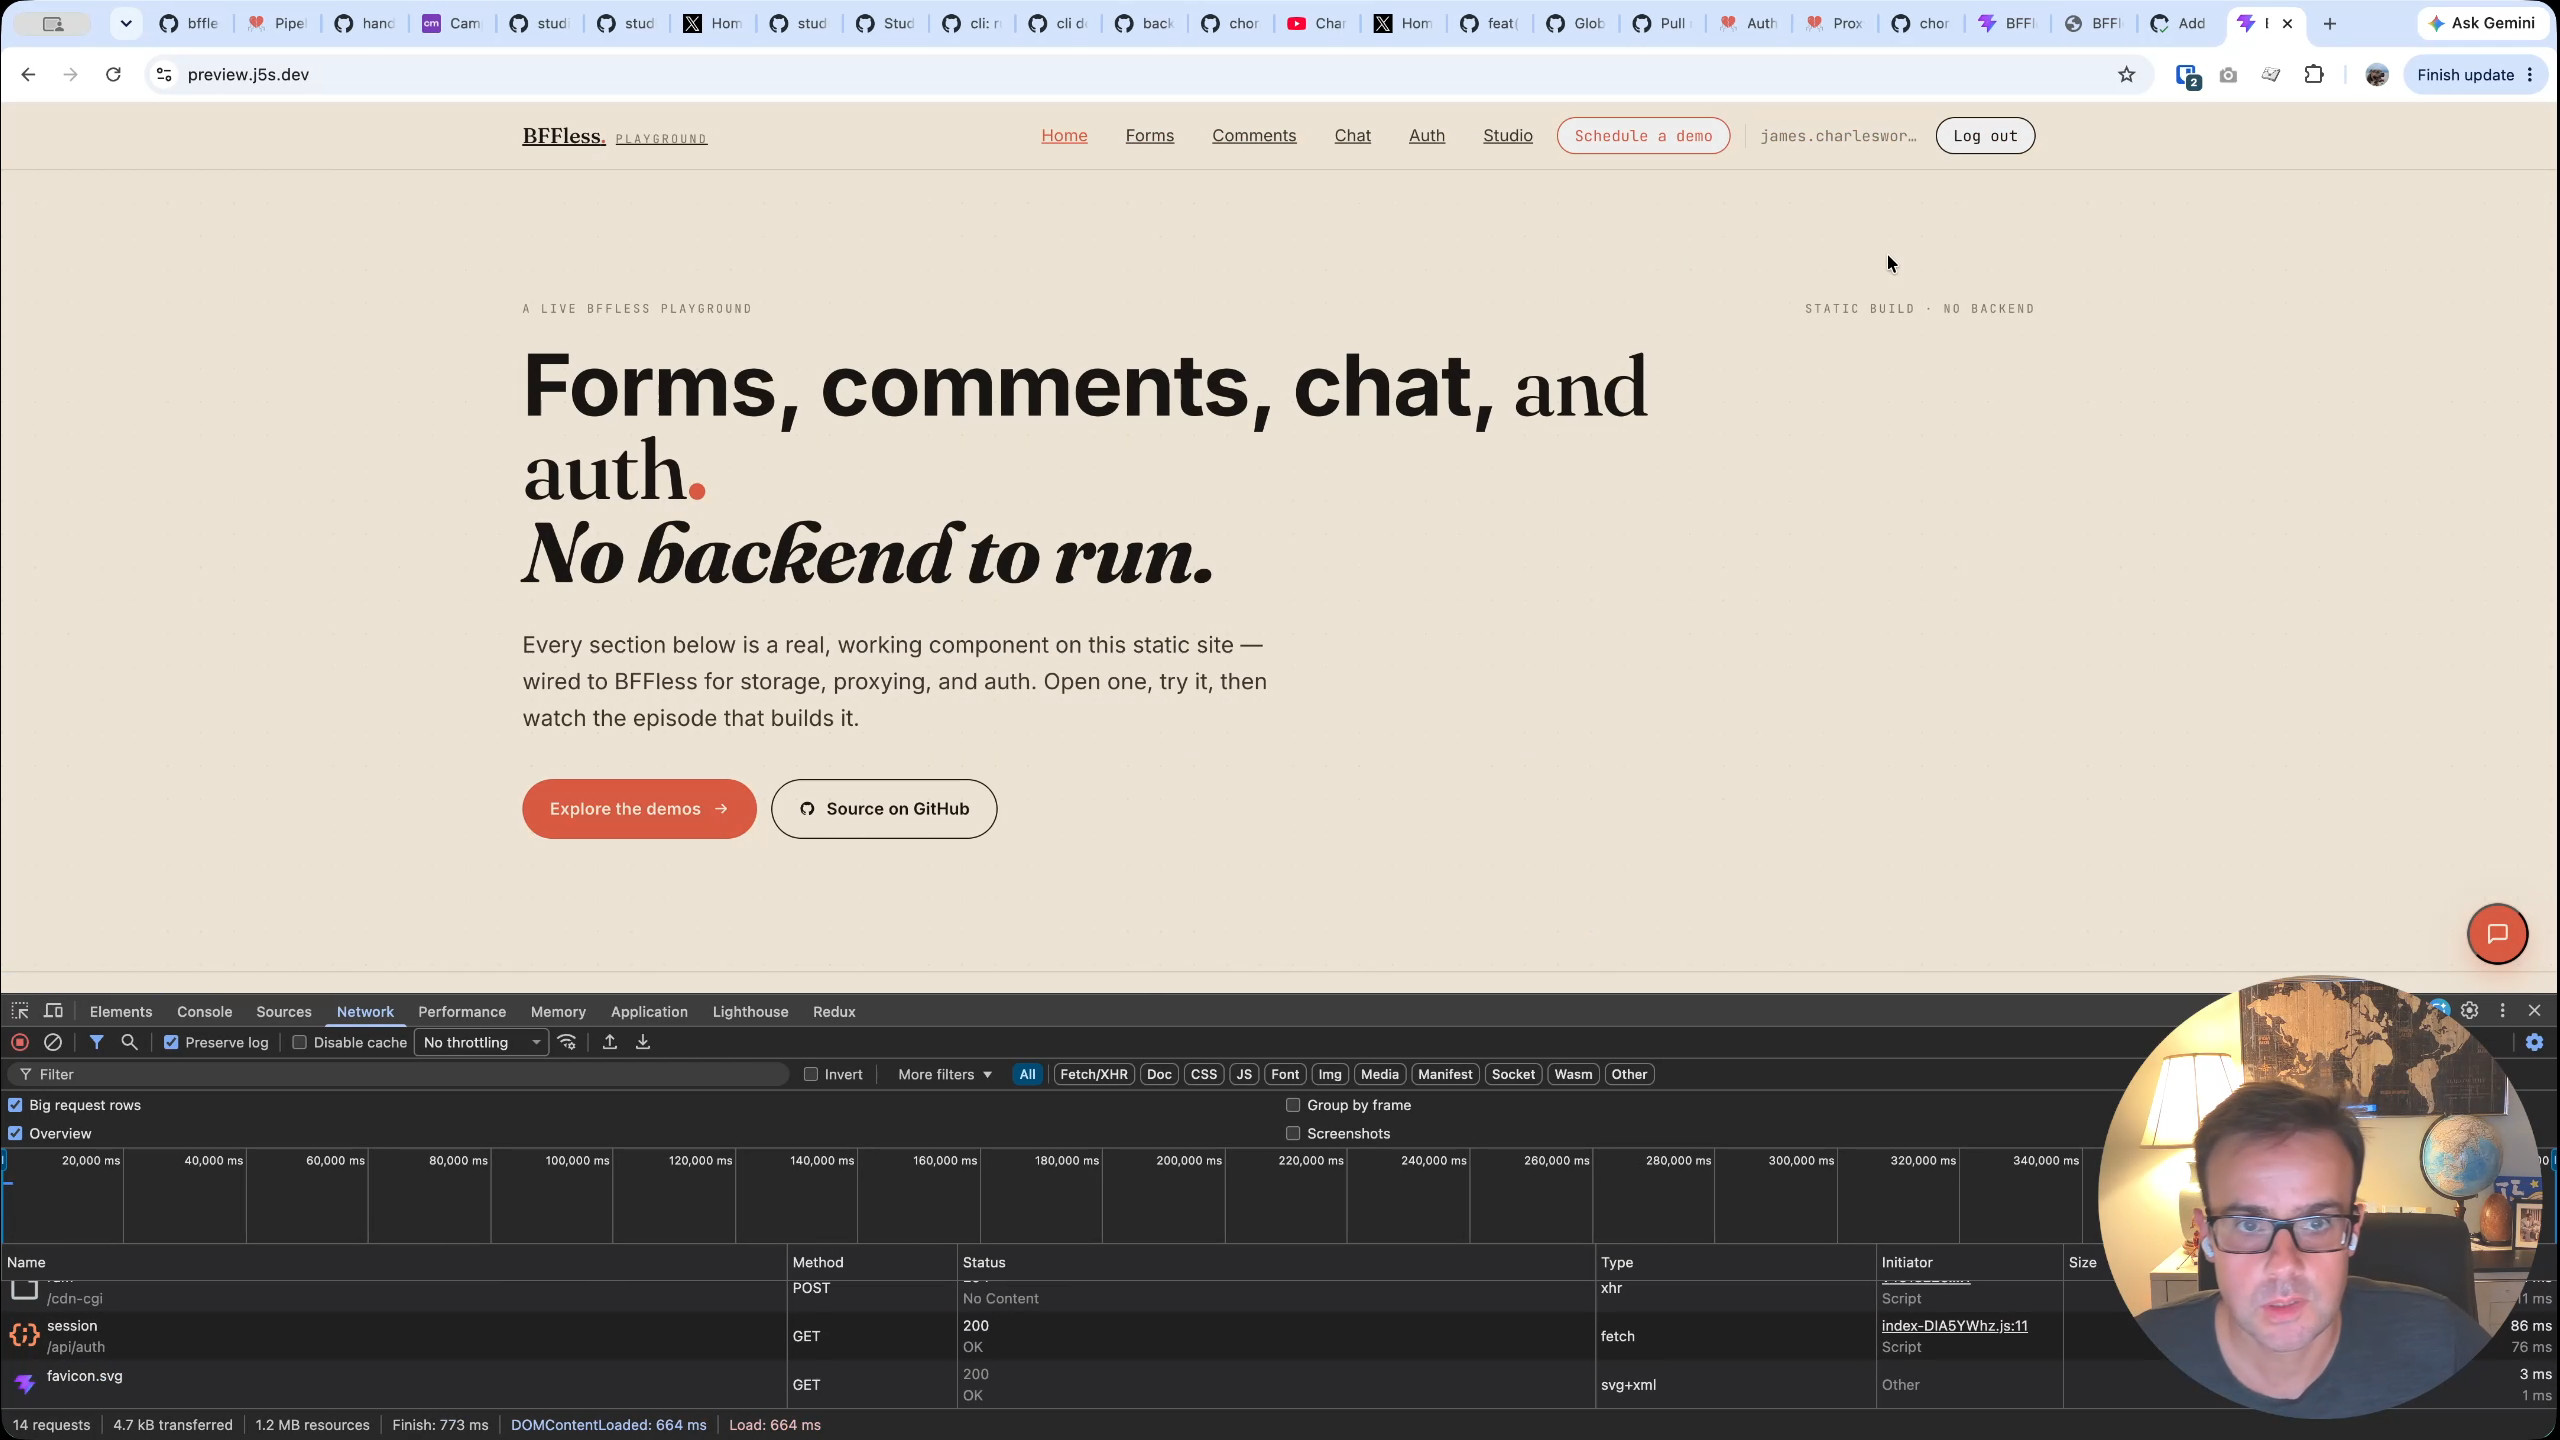
The new rule will not take effect until the PR is merged and the deploy pipeline runs. But it would be nice to test the form end-to-end before merging. The project already has a preview environment at preview.j5s.dev that deploys from PR branches.
After a brief wait for the preview build to finish, the scheduled-demo form appears on the preview site. However, submitting it will not work yet because the backend pipeline and schema have not been deployed — only the front-end code is live on the preview branch.
Since the new rules are purely additive (no existing pipelines are being deleted or modified), it is safe to push them to the production rule set right away. The plan: use the BFFless CLI to deploy the proxy rules and schema immediately.
Minting an API Key and Pushing Rules
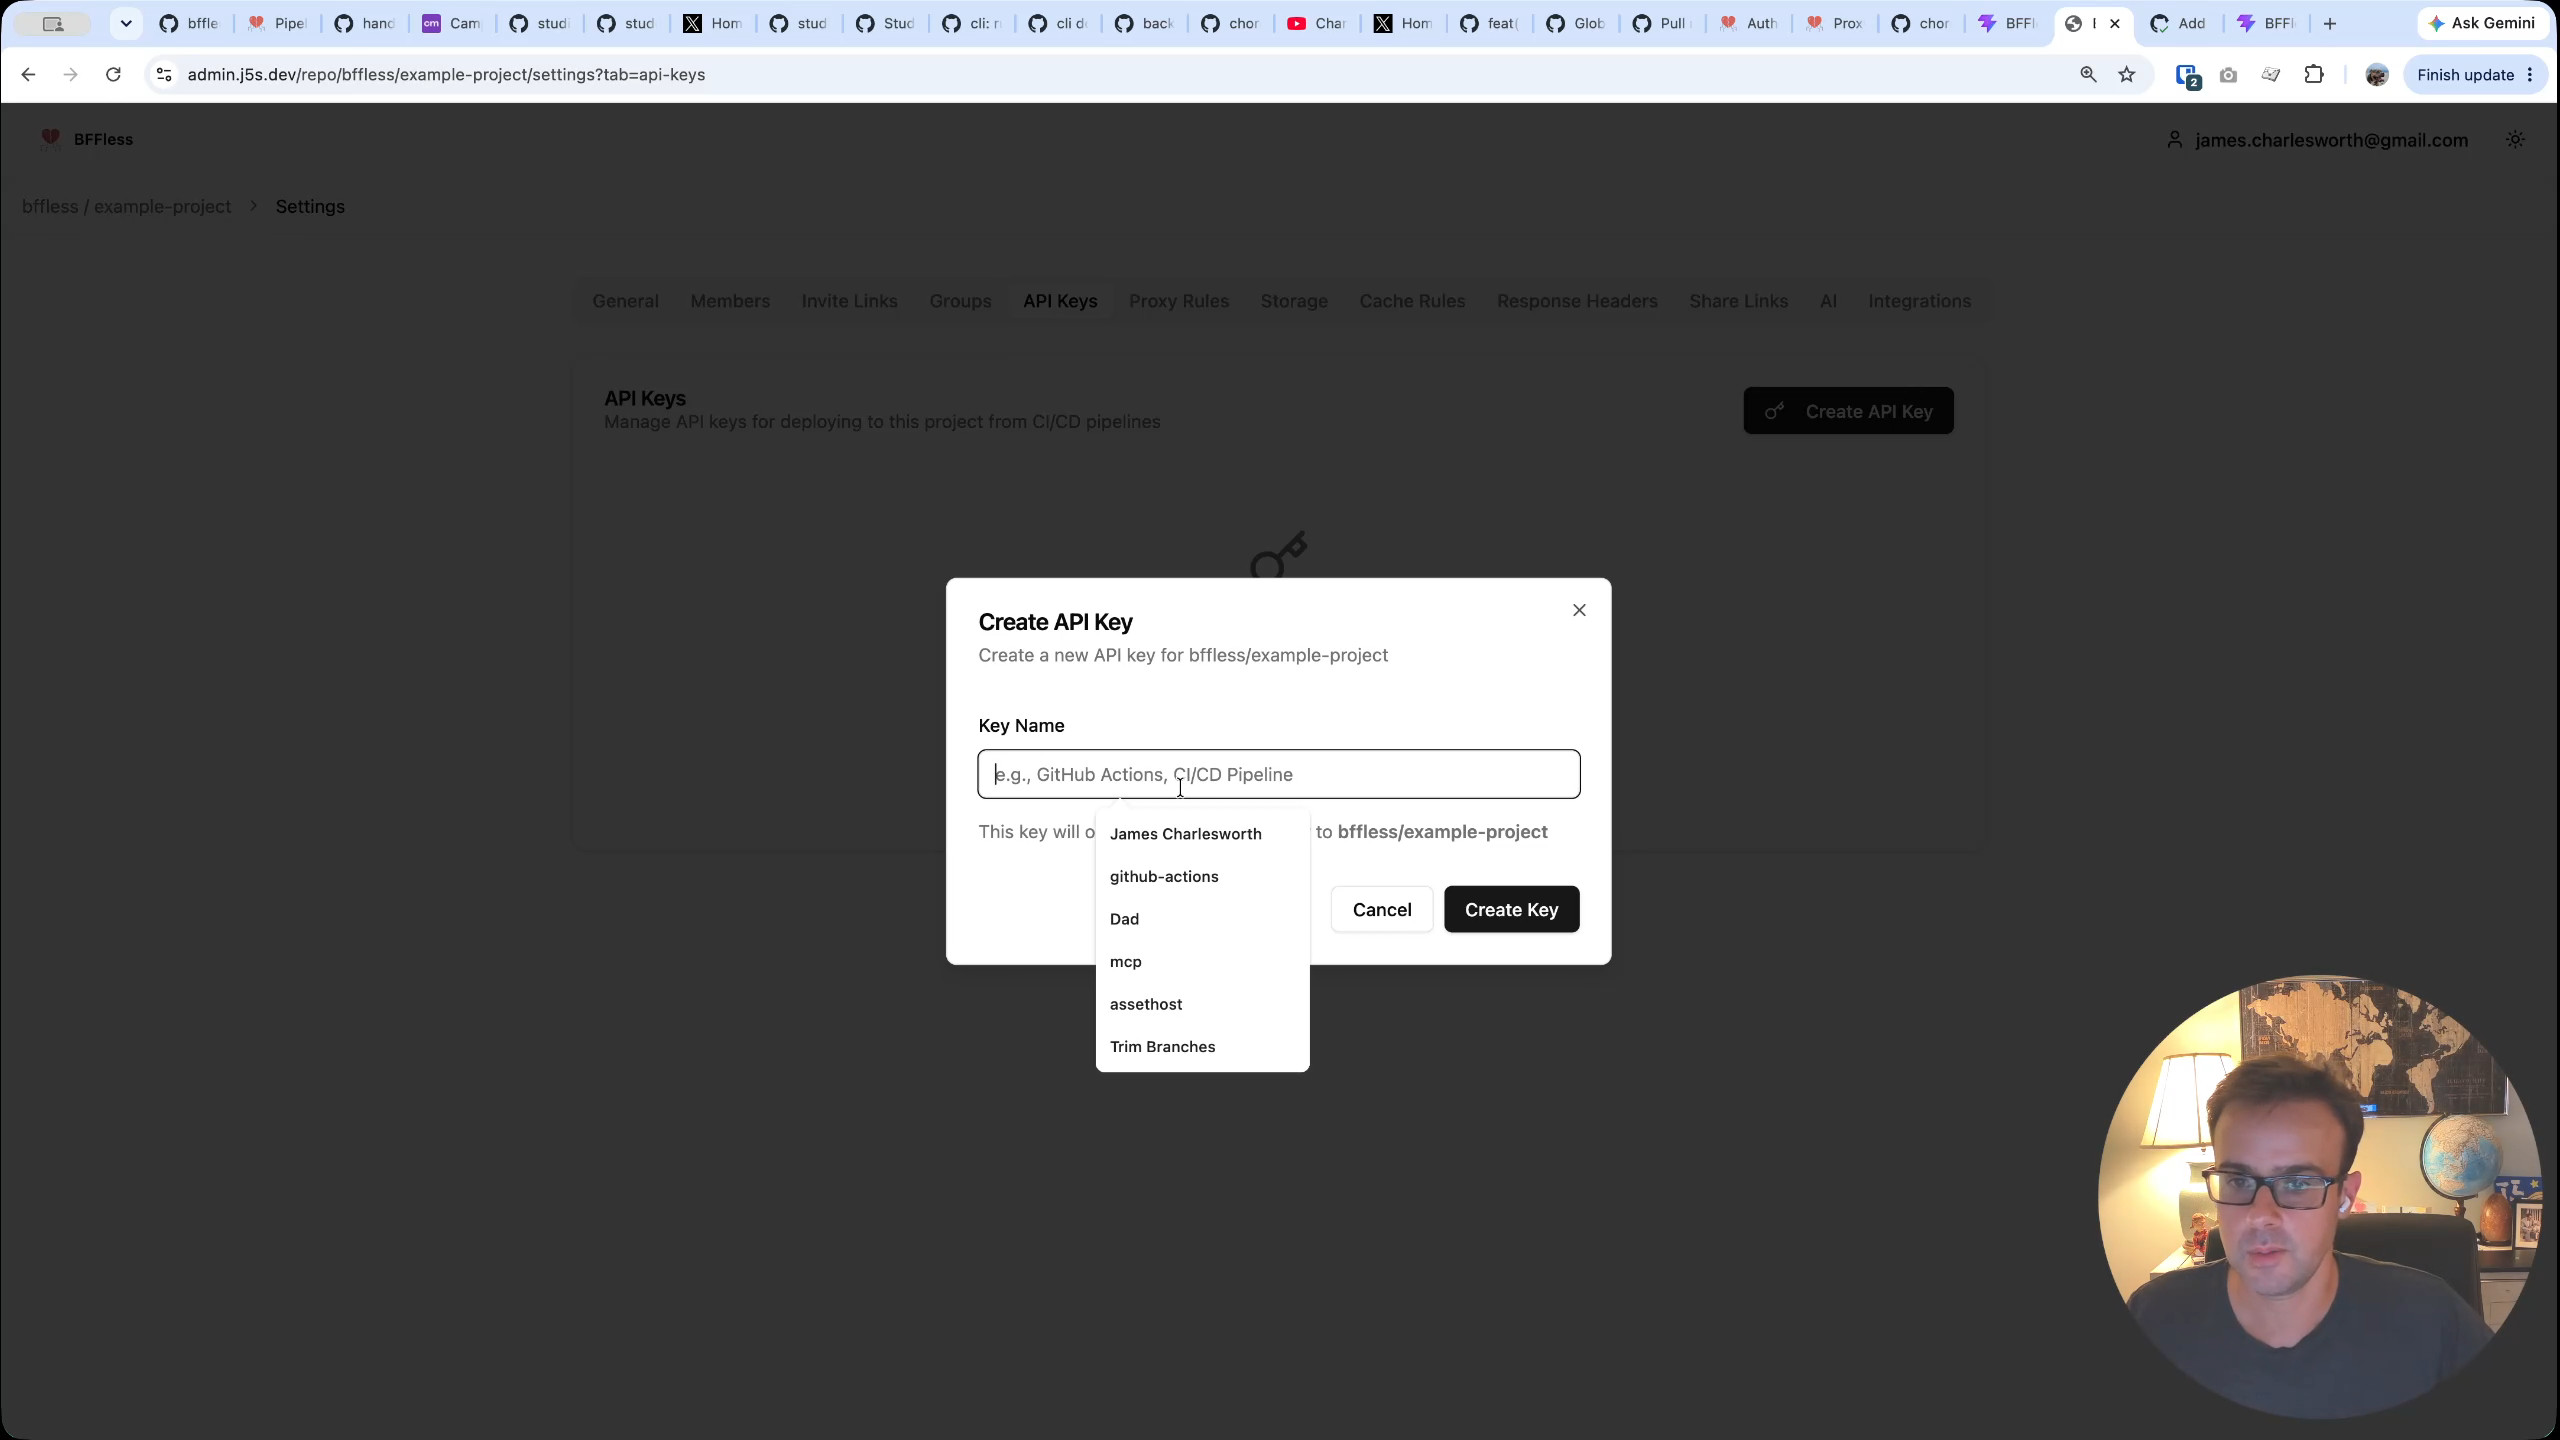
To push rules from the command line, an API key is needed. In the BFFless dashboard under Settings, a new project-scoped API key is created (named "demo" — intended to be deleted later). The key is copied and set as the BFFLESS_API_KEY environment variable in the terminal.
With the key in place, the CLI push command is run. The output confirms that it created the demo-request pipeline and updated two additional pipelines.
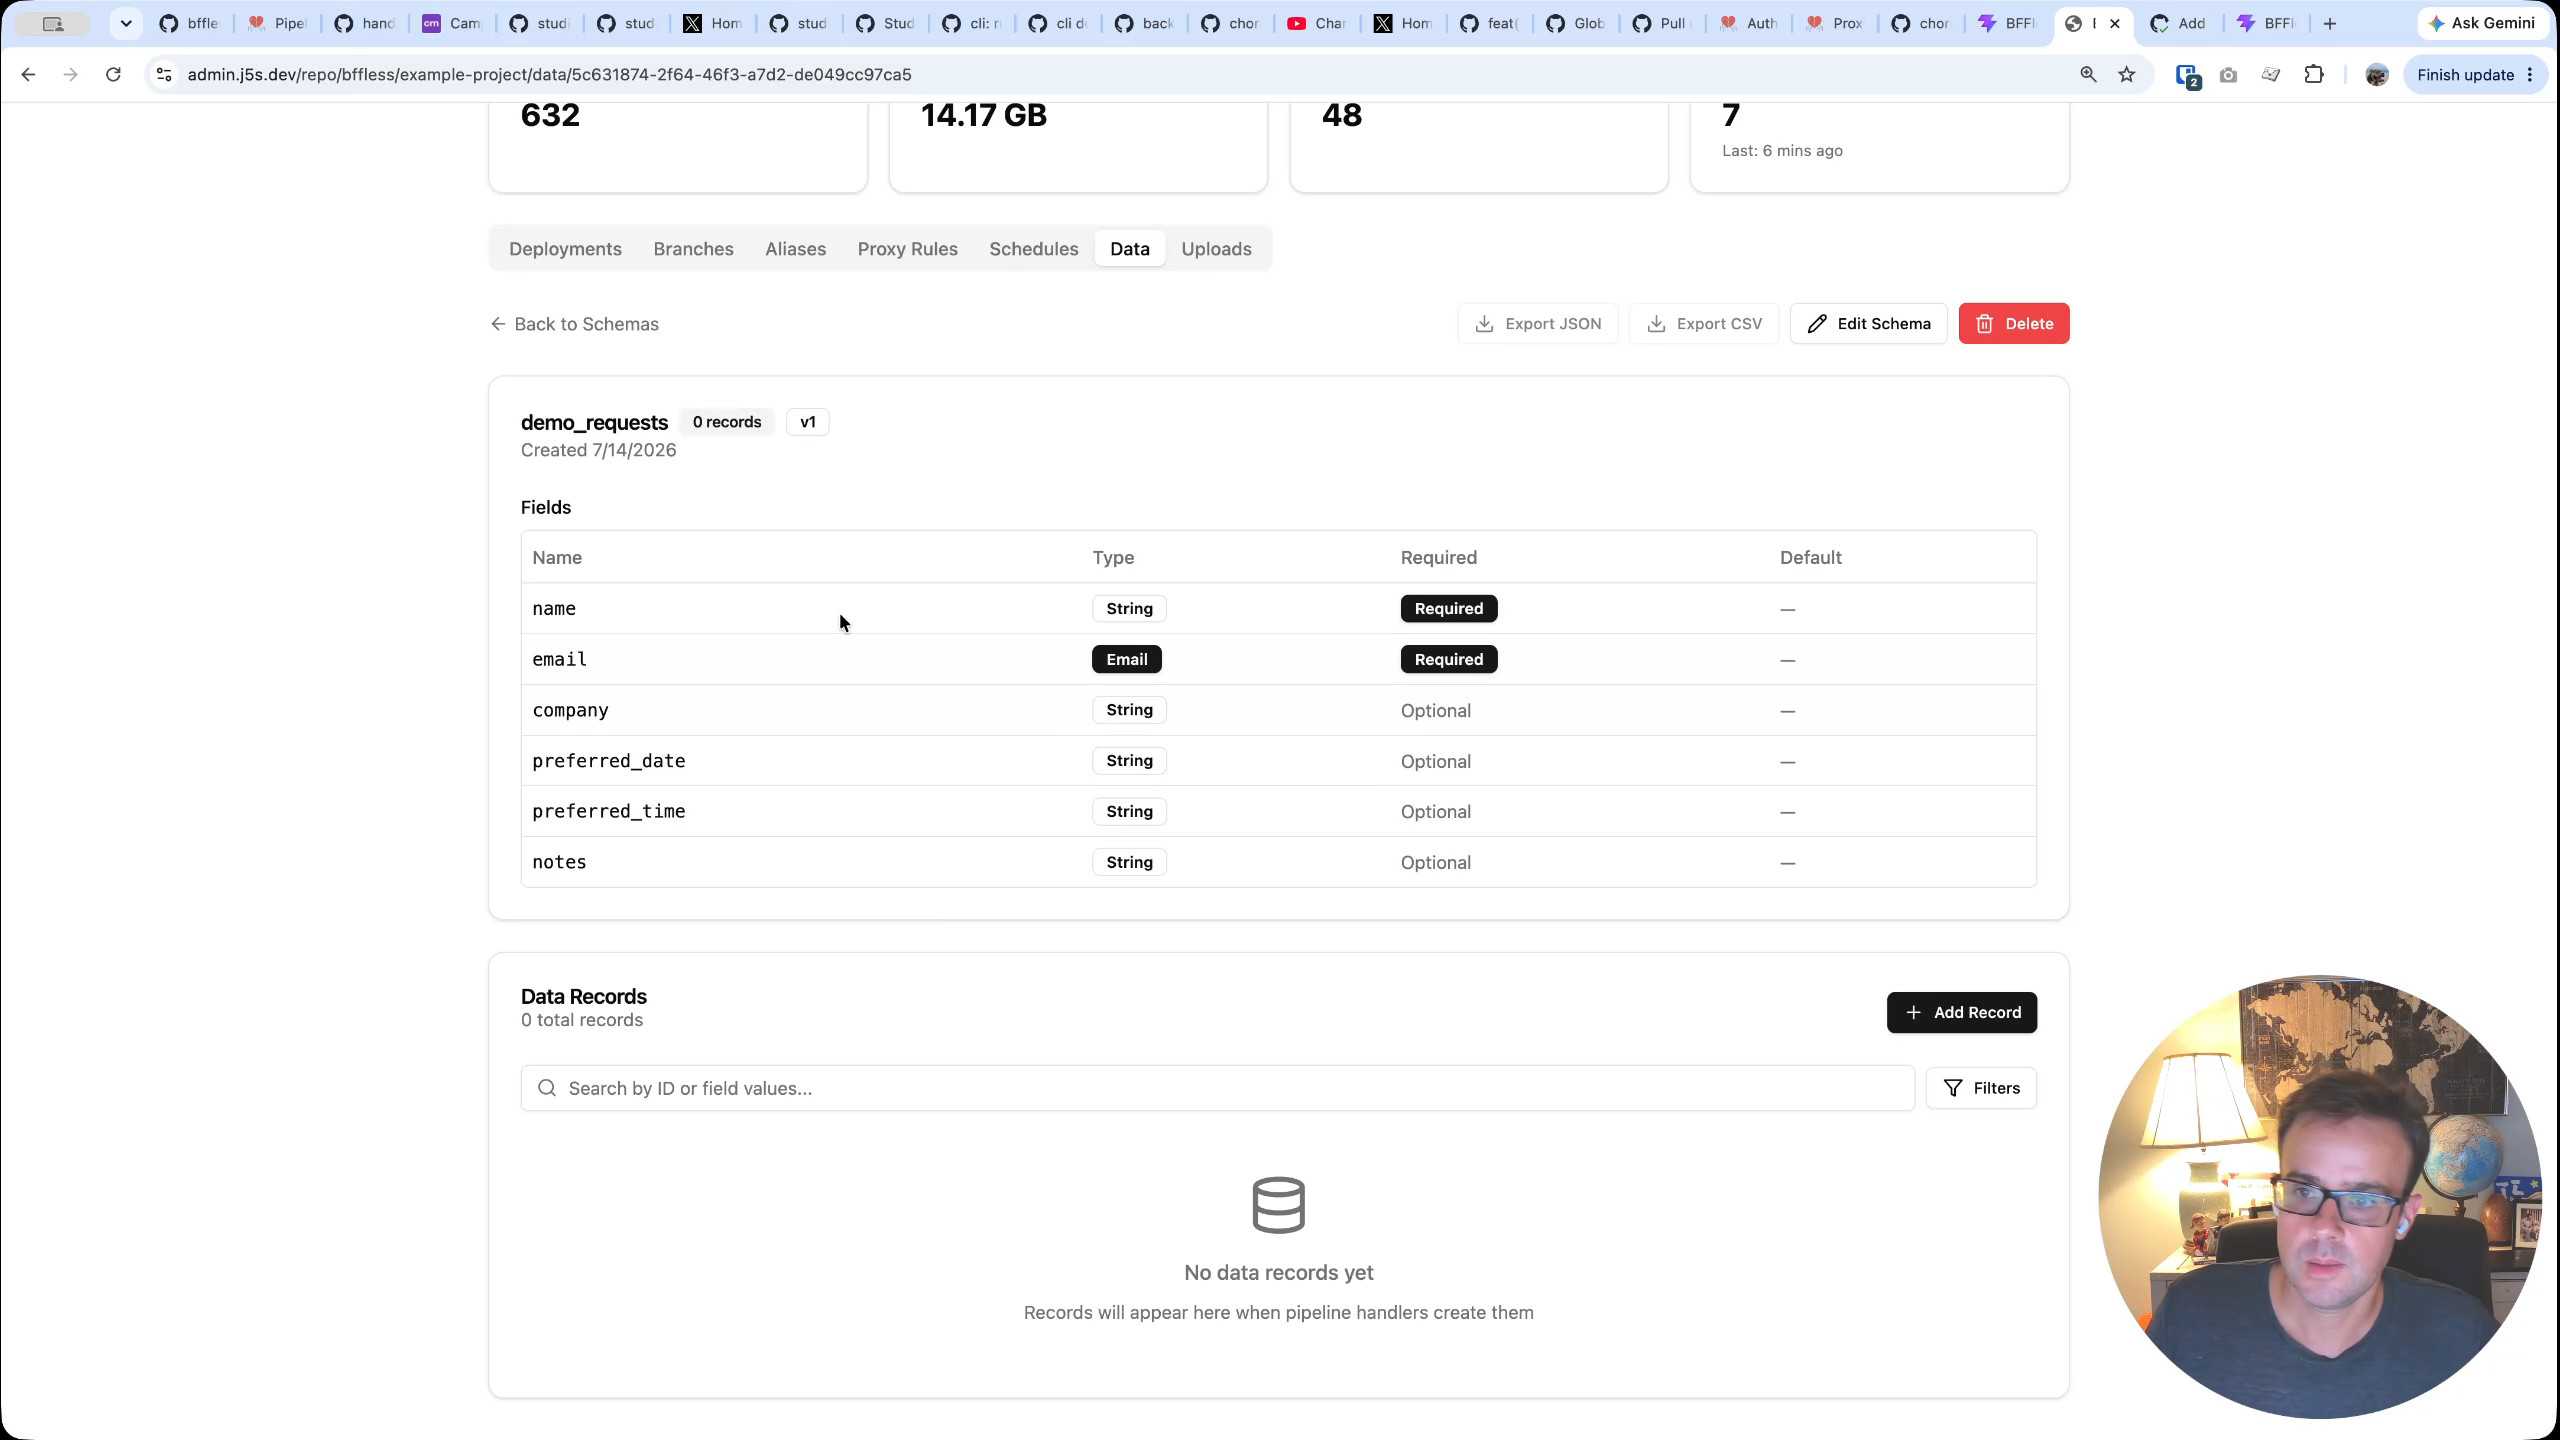
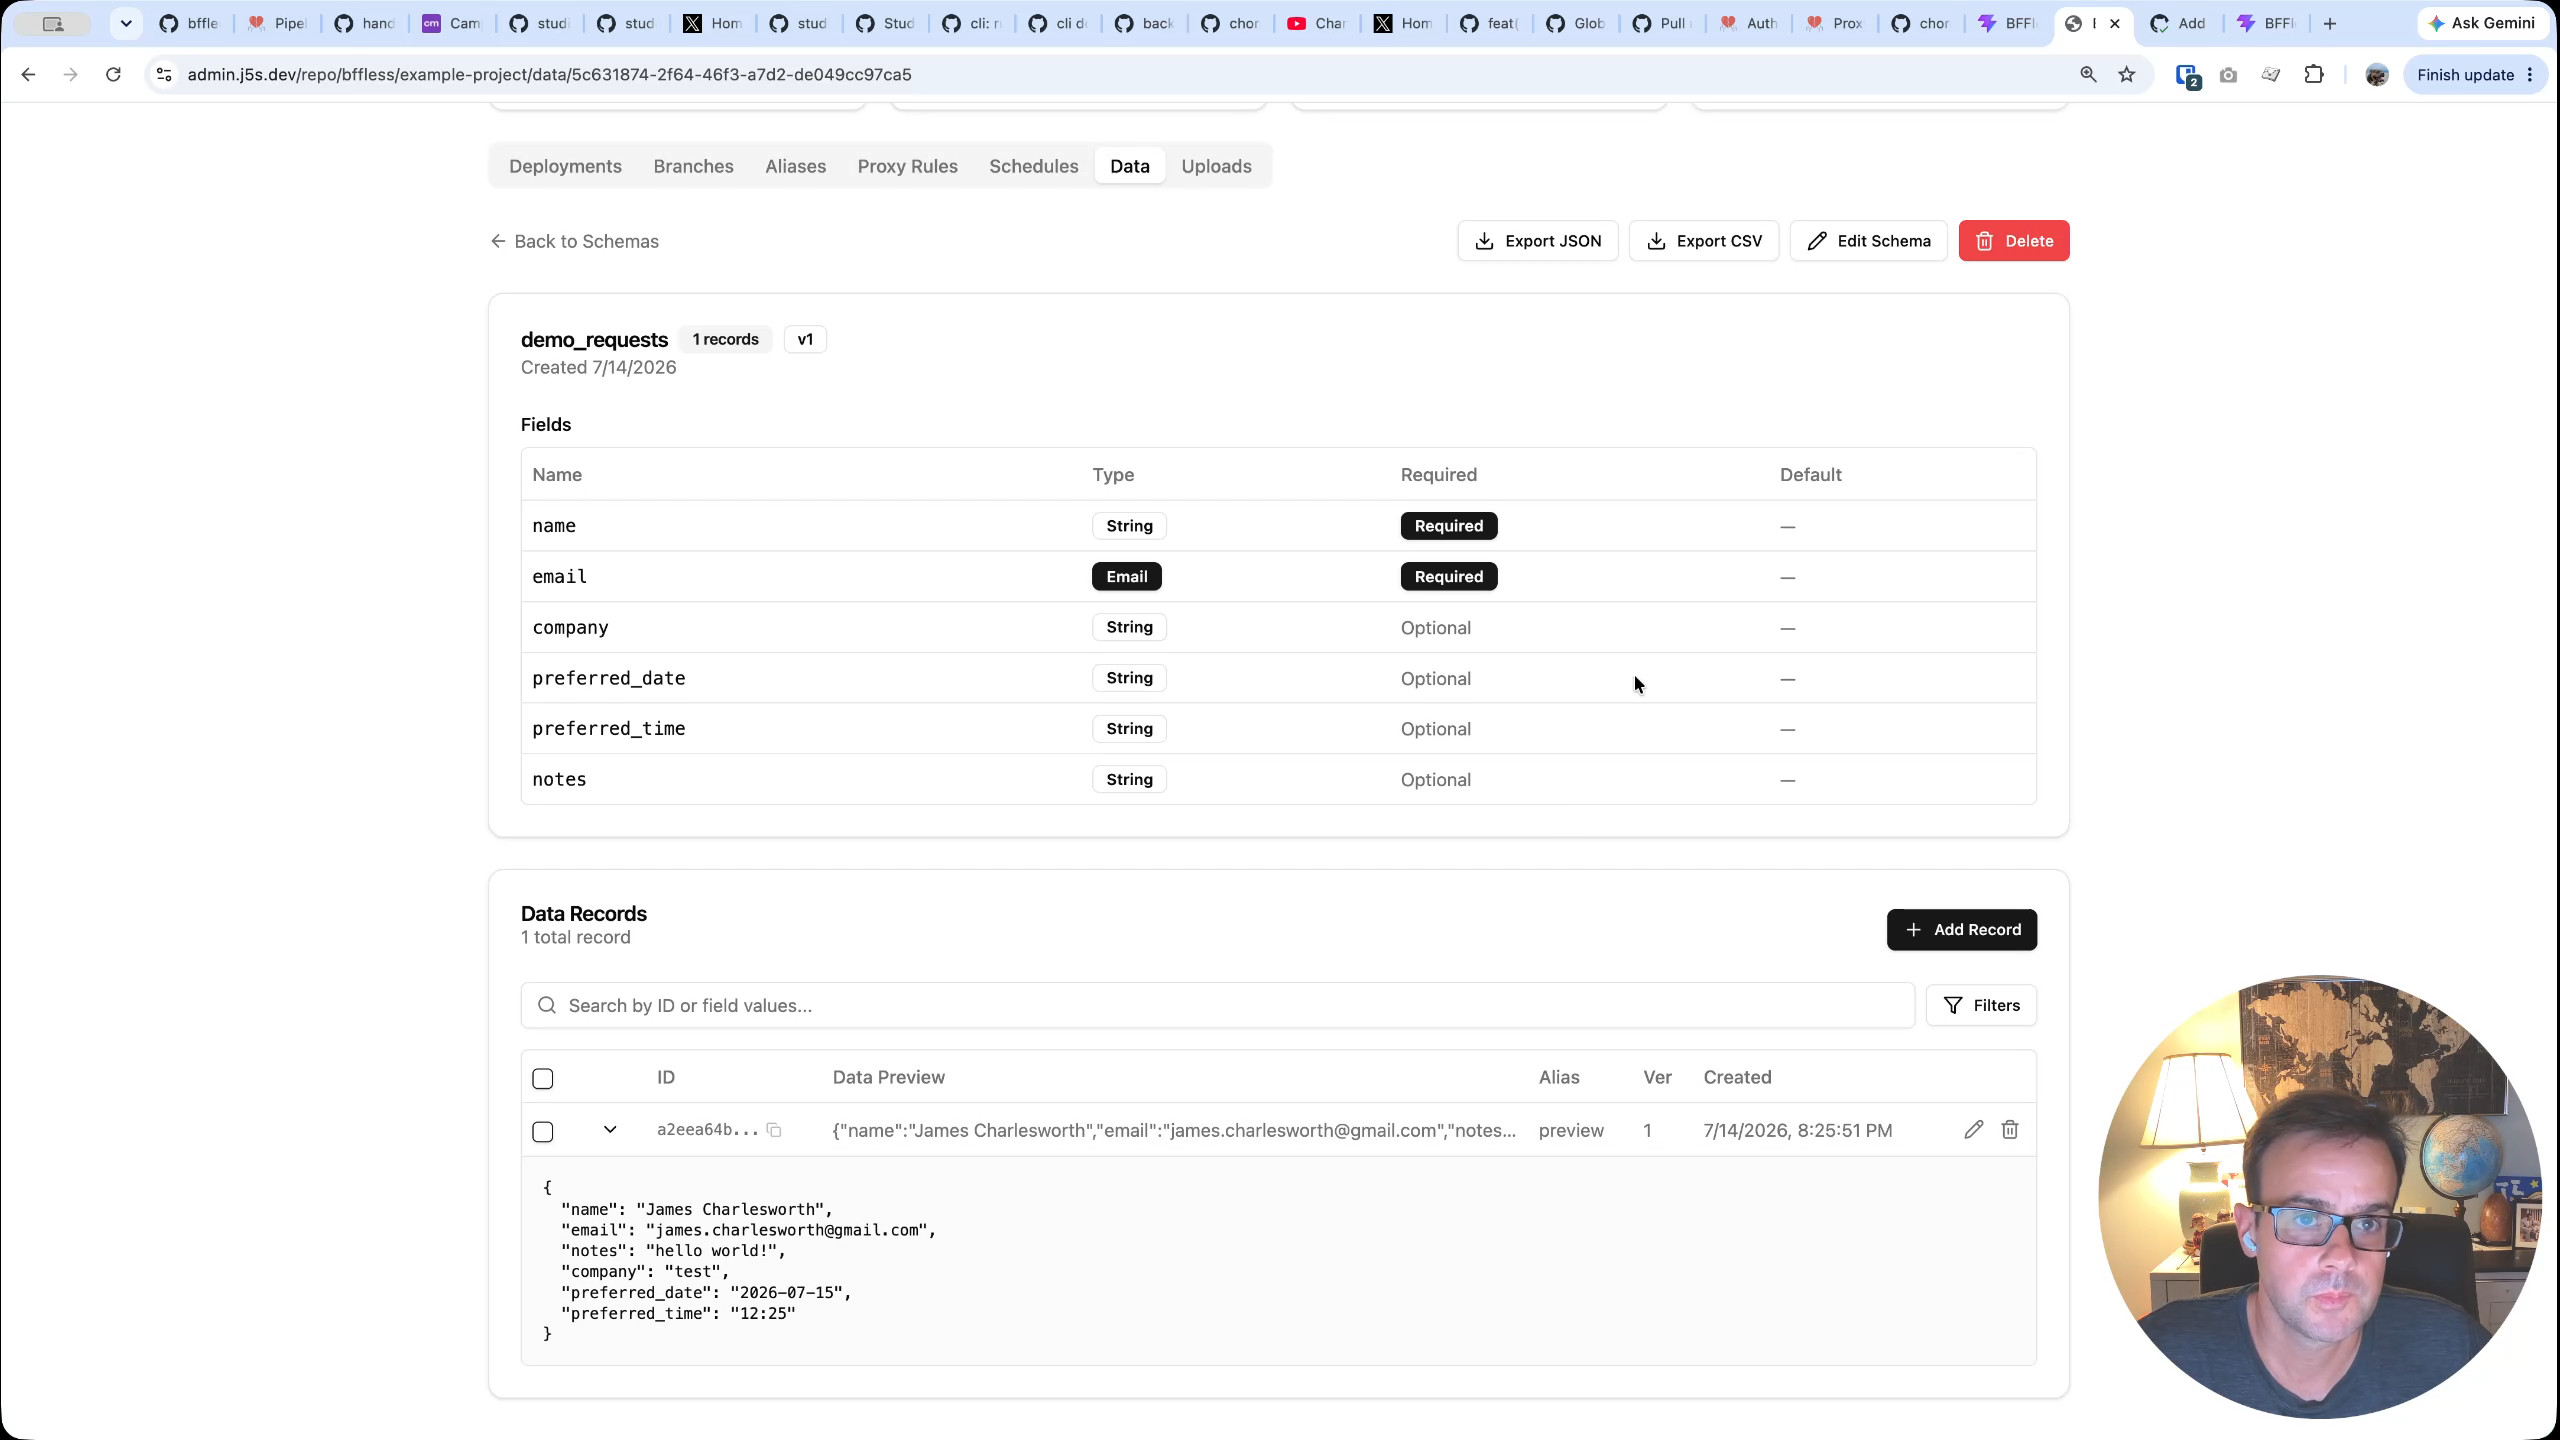
Back in the BFFless dashboard, the new rule appears under API Backend — a "Create Record" pipeline targeting the demo_request schema. The schema itself is also visible in the Data section, listing all the expected fields: name, email, company, preferred date, preferred time, and notes.
Testing the Form End-to-End
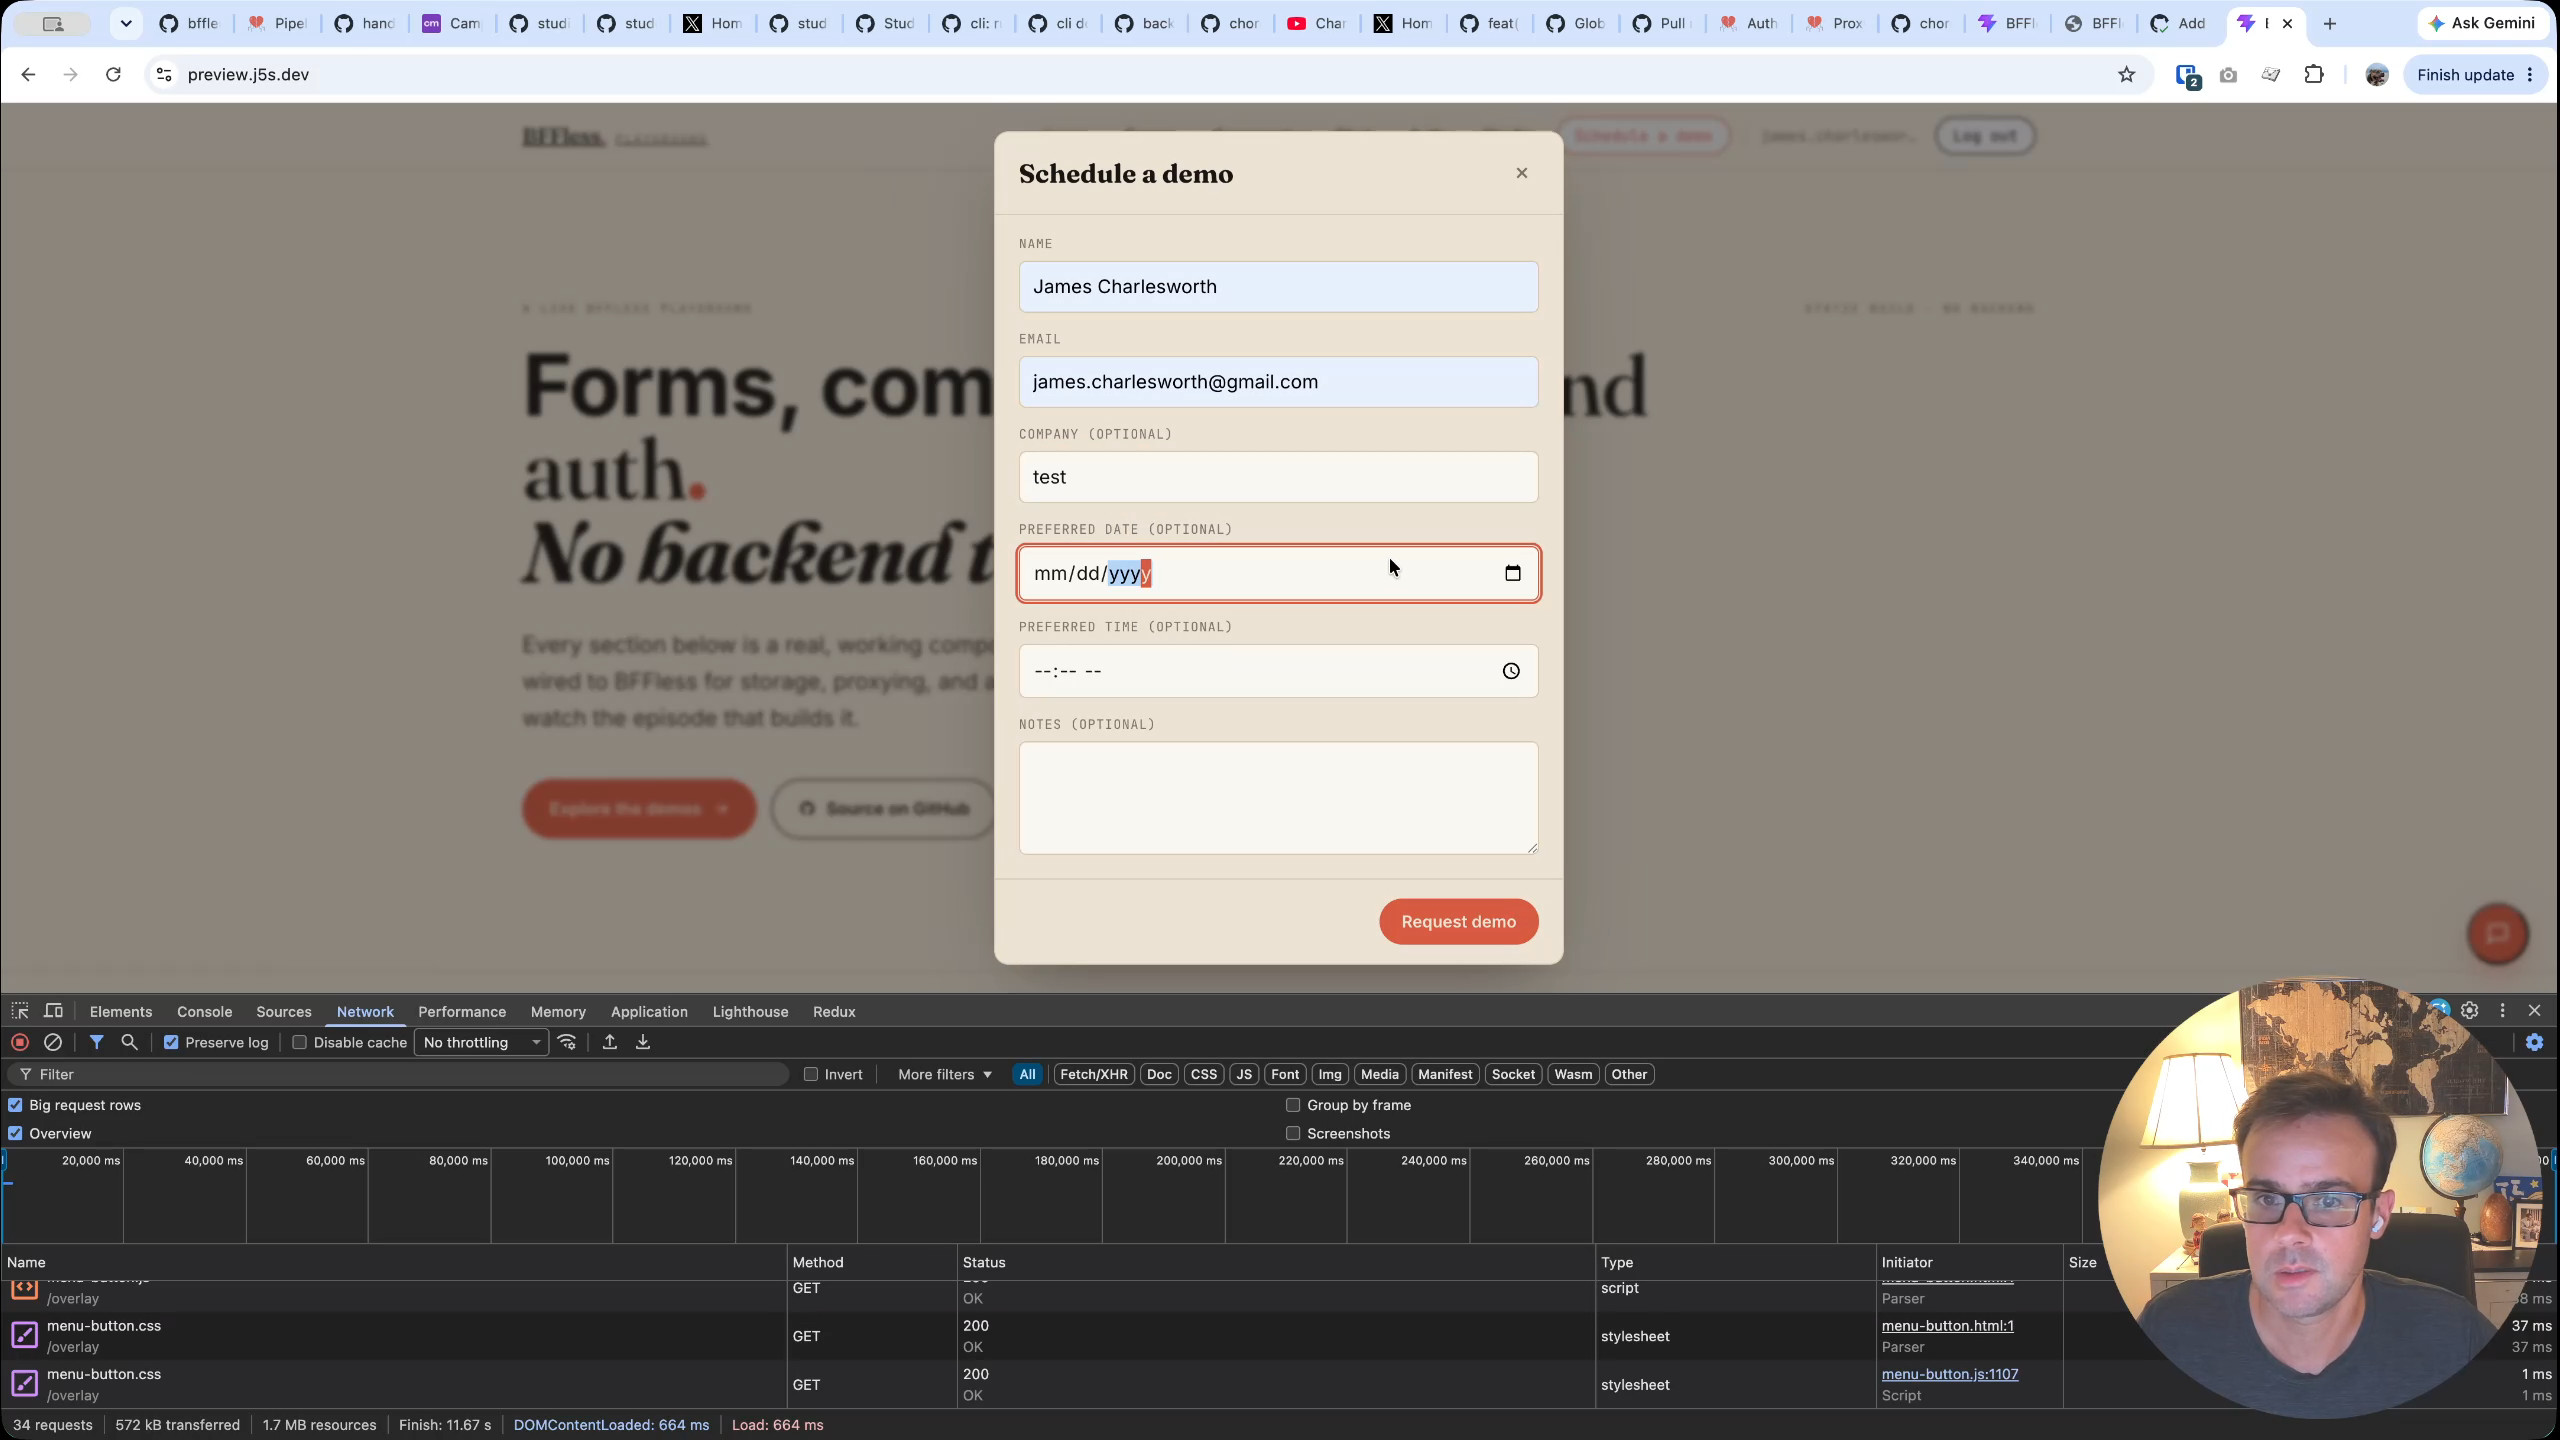
With the backend now live, the preview site is refreshed and the "Schedule a Demo" dialogue is opened. A test submission is filled out with sample data — name, email, a date, a time, and a note. After clicking submit, the form responds with a "Thanks, we'll keep in touch" message and closes.
Navigating to the pipeline data in the BFFless dashboard confirms the record was saved successfully. The submission appears in the demo_request table with all the fields intact.
The form is fully functional on the preview branch. Once the PR is merged, the deploy pipeline will run automatically and the rule will be officially shipped alongside the front-end code.
Recap
BFFless pipelines are a powerful way to add backend logic to a static front end without running your own server. With the new Rules as Code feature, those pipelines are defined as YAML files that live in your repository's .bffless folder, giving you:
- Version control — every pipeline change is tracked in Git alongside the front-end code it supports.
- Code review — backend rules show up in pull requests, making them easy to review and discuss.
- Automated deployment — the reusable
bffless/deploy-proxy-rulesGitHub Action pushes rules to BFFless on merge. - CLI flexibility — the
npx bfflesscommand lets you scaffold and push rules from your terminal for rapid iteration.
If you are building front-end dashboards or apps with BFFless and find yourself managing increasingly complex pipelines, Rules as Code is a natural next step. It brings the same infrastructure-as-code discipline you already use for CI/CD to your backend pipeline configuration.